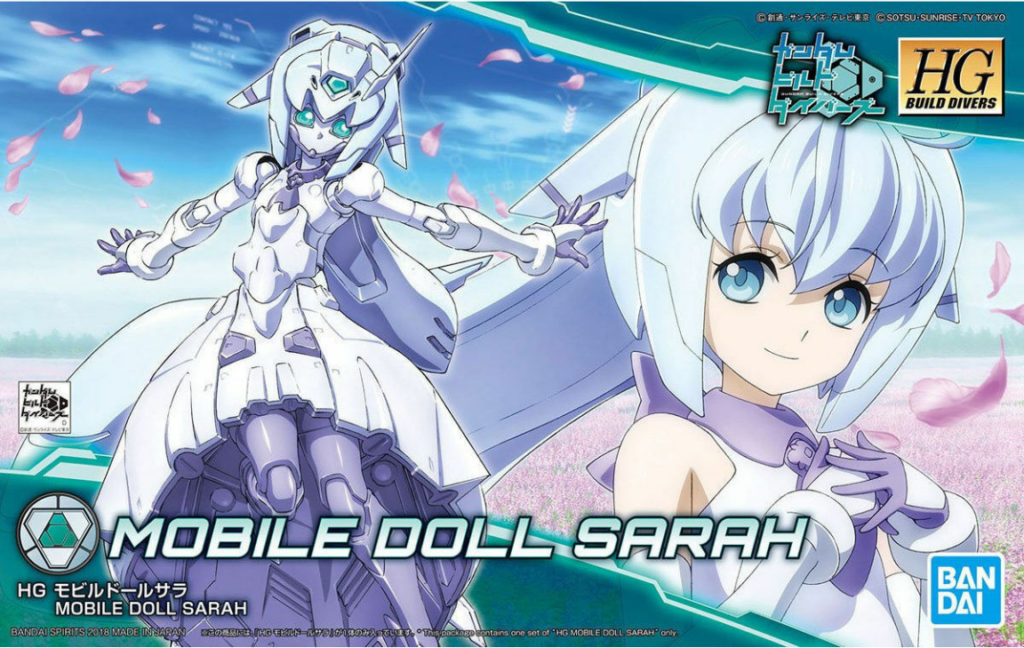
Kitbashed from HG Mobile Doll Sarah, HG Barbatos and various 1/100 scale Gunpla kits from BANDAI. The kit was released in 2018 in the High Grade Build Divers range and out of the box gave you two build options and a stand!
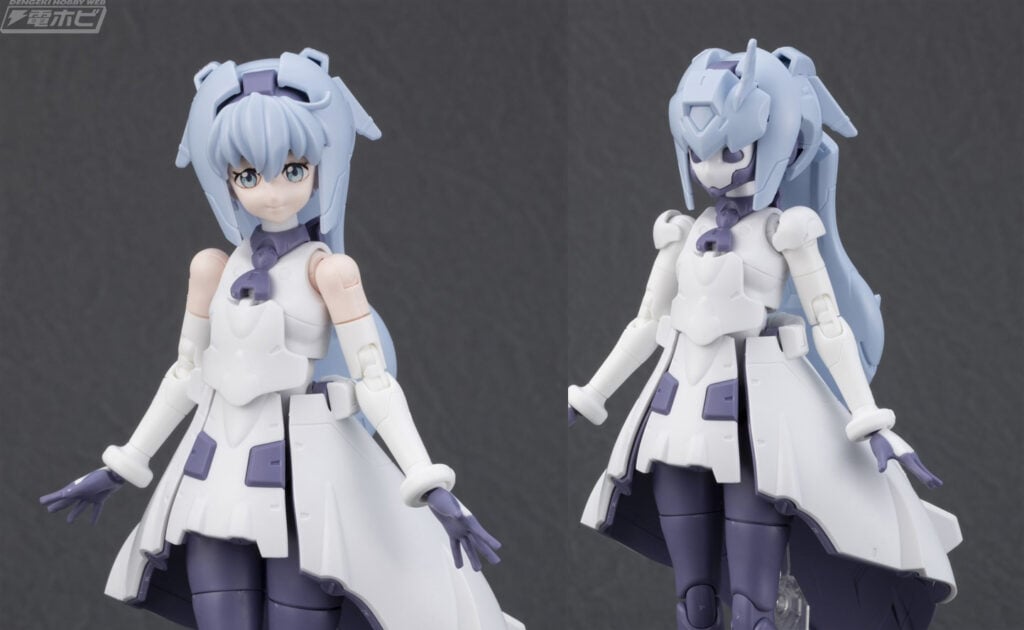
I have not seen Gundam Build Divers but I was a fan of the Mobile Suit form and wanted to kitbash with HG Iron Blooded Orphans (IBO) parts to add a more mechanical look. Another source of inspiration with was the “beetle booty” on the HGUC Nightingale and the skirt on the kit was a great starting point to add more details too.
Roughing Out

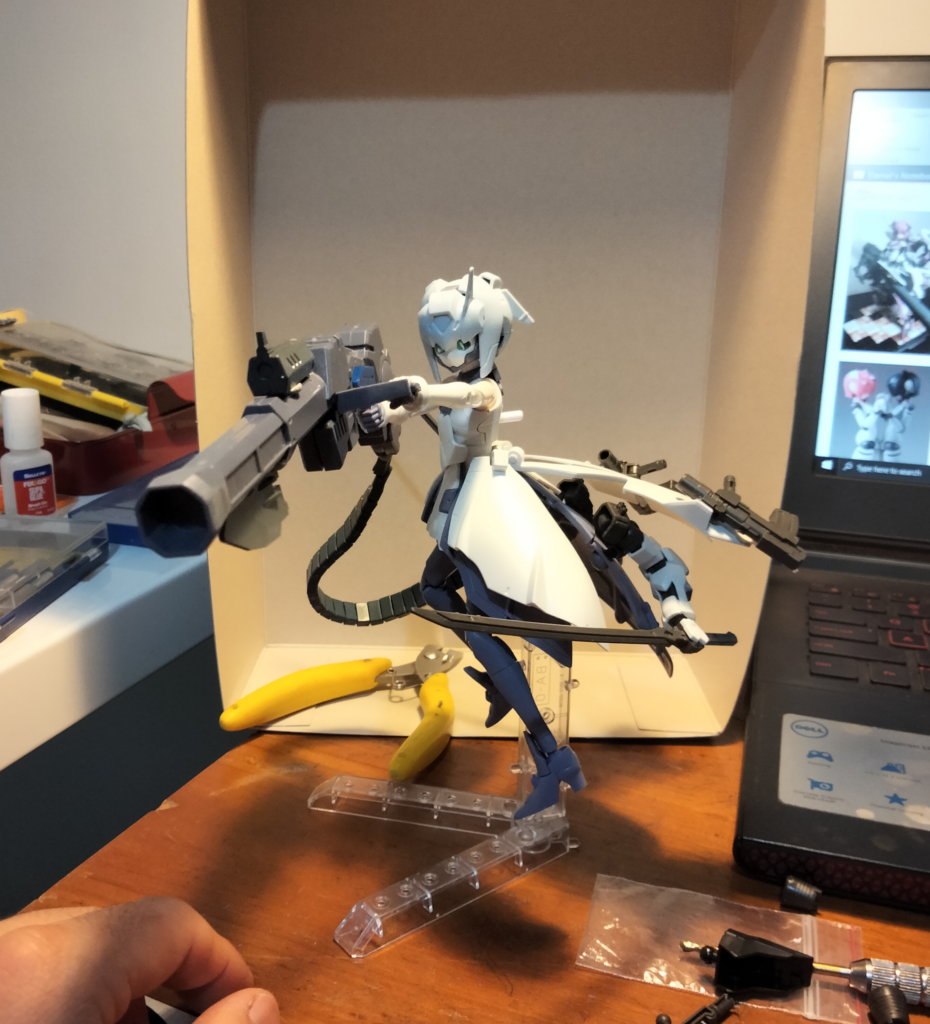
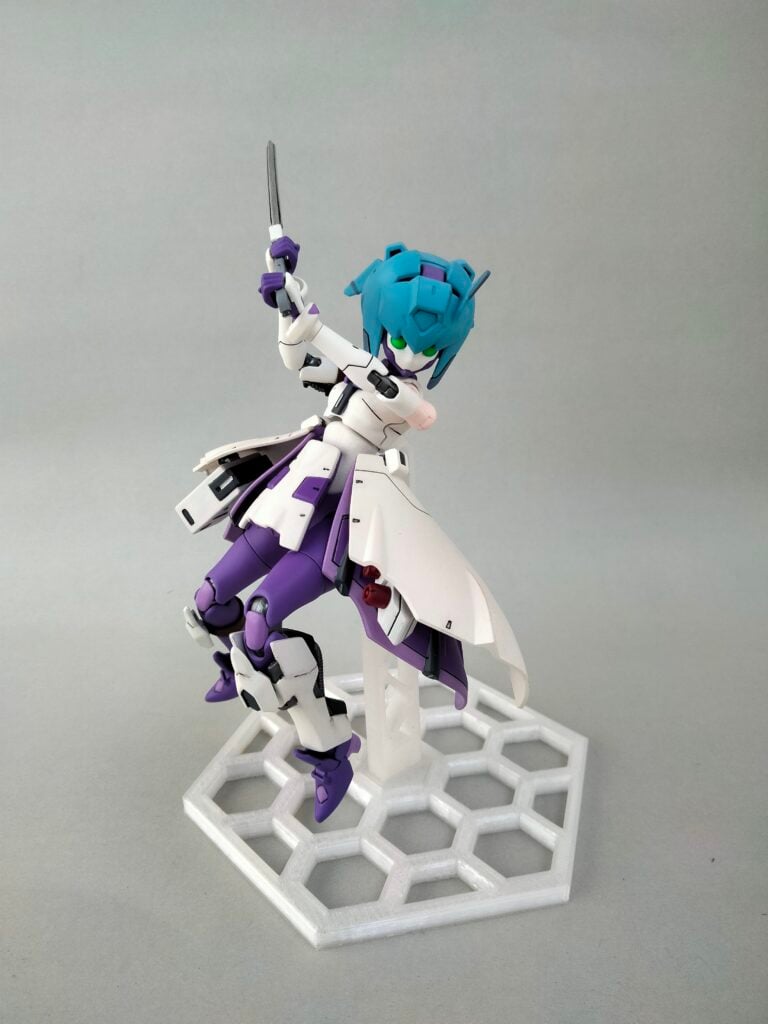
I began roughing out the customisations by picking out the parts I wanted to include from other kits and continued with finding where and how to add them. I used a heap of Blu Tack to place smaller parts on the kit to test their placement. There were a couple of “free-rides” on this kit such as the pockets on the topside of the skirt that fit the ball joints on the HG Barbatos arms perfectly. Using the included stand I settled on a likely final pose with the kit holding the large rifle. Gathering an idea of the final pose while roughing out and customising helps guide future steps because some details will be more visible than others.
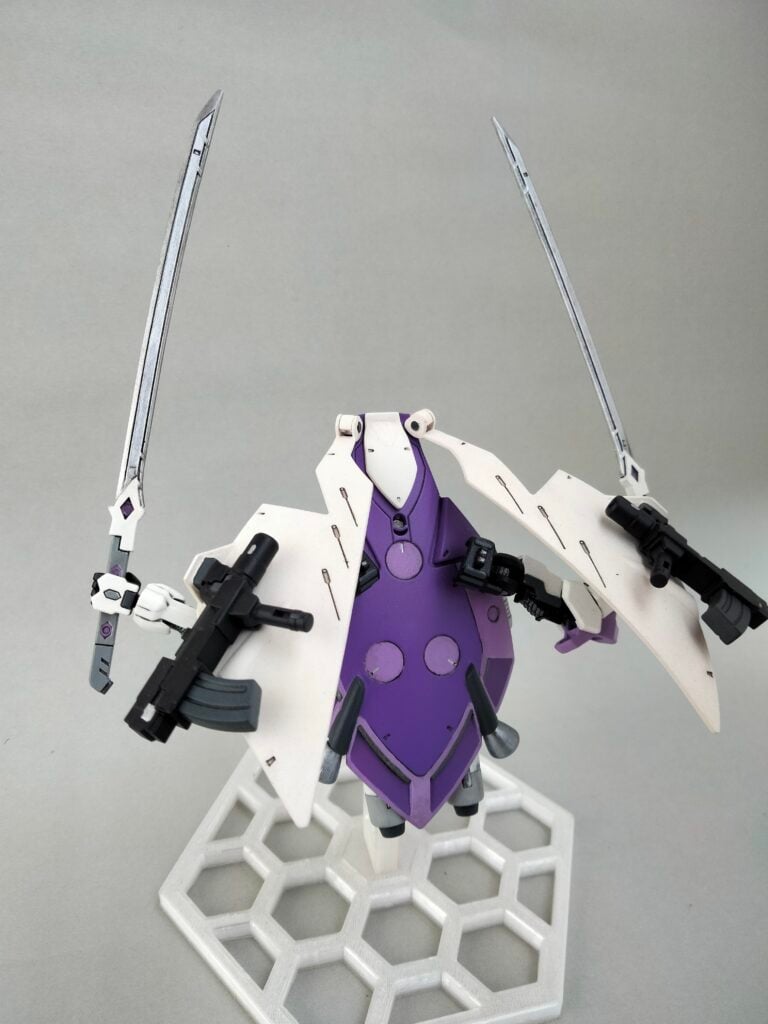
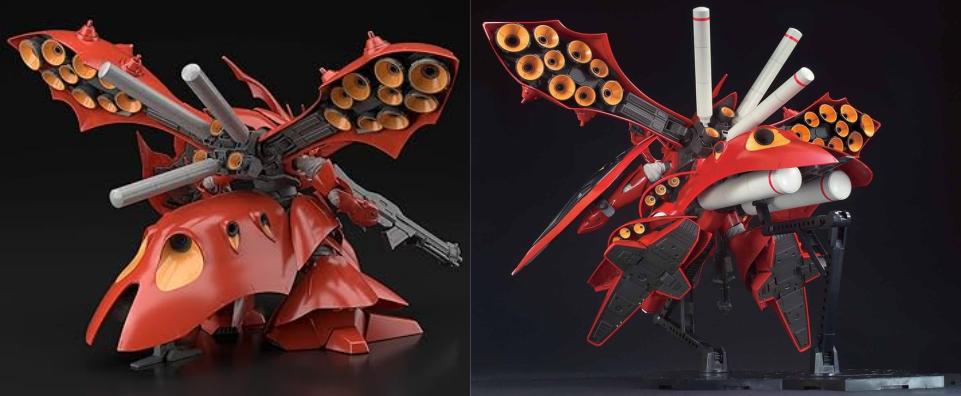
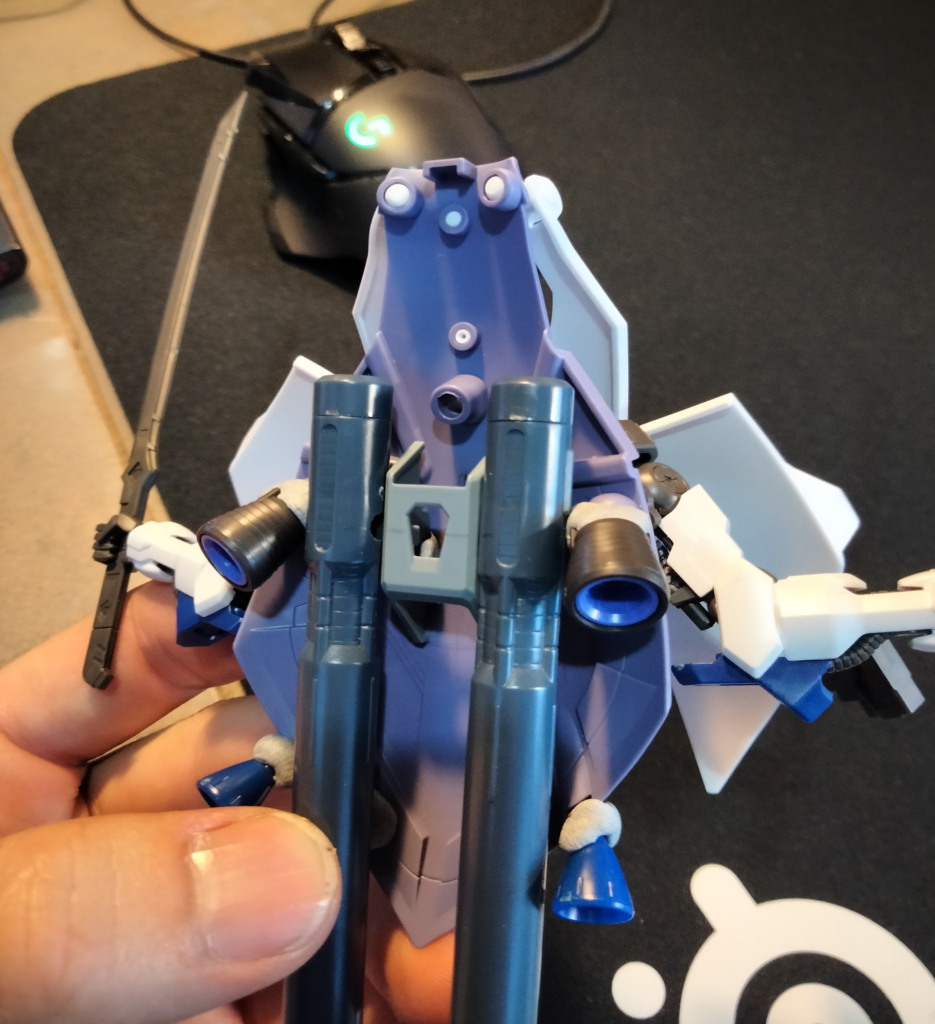
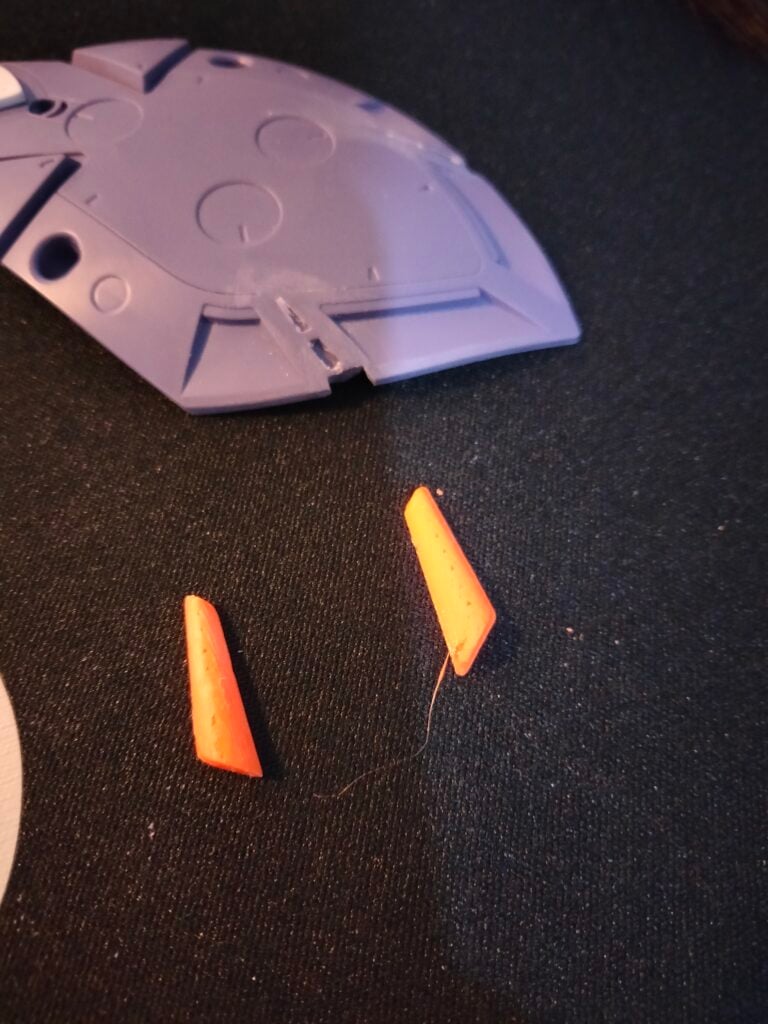
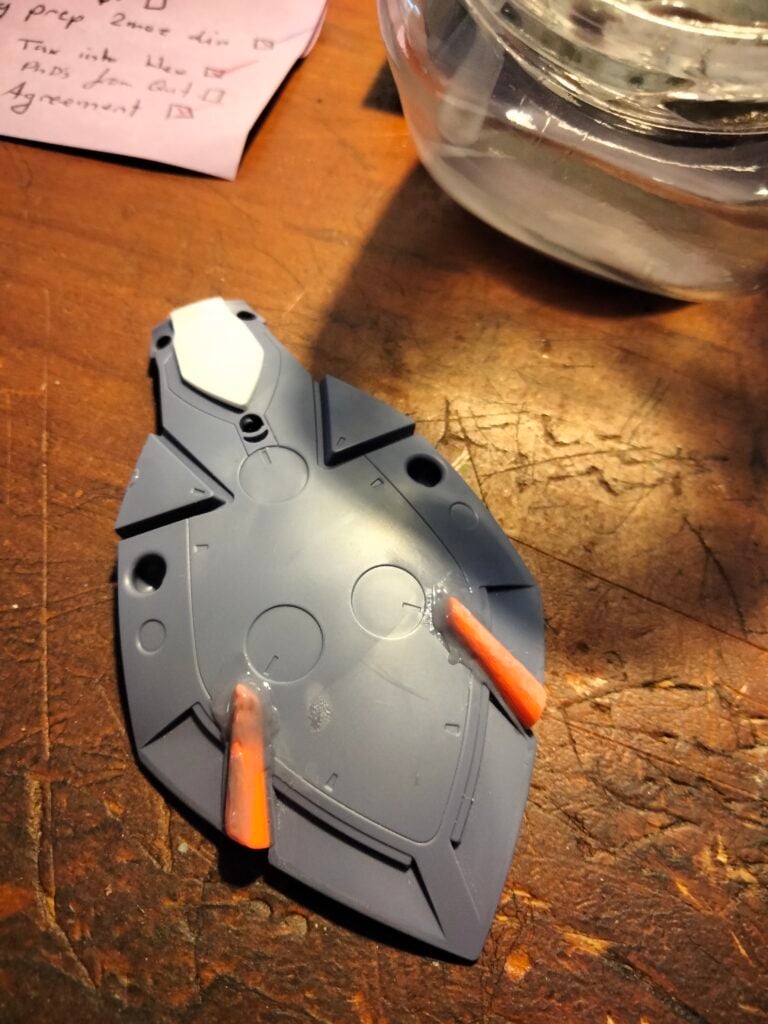
The roughed out “beetle booty” used parts from 2 different versions of the BANDAI 1/100 MG FAZZ, the original and the Ver.Ka. Attaching the details to the underside of the shirt was the start of the customisation then clean-up steps.
Customizations
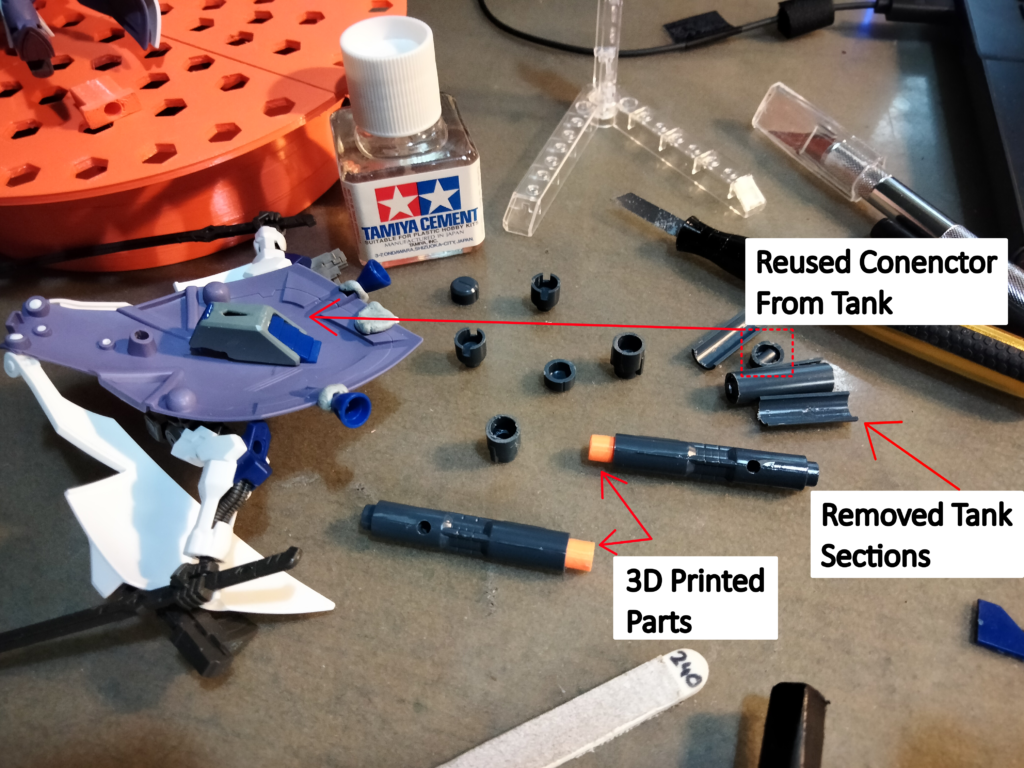
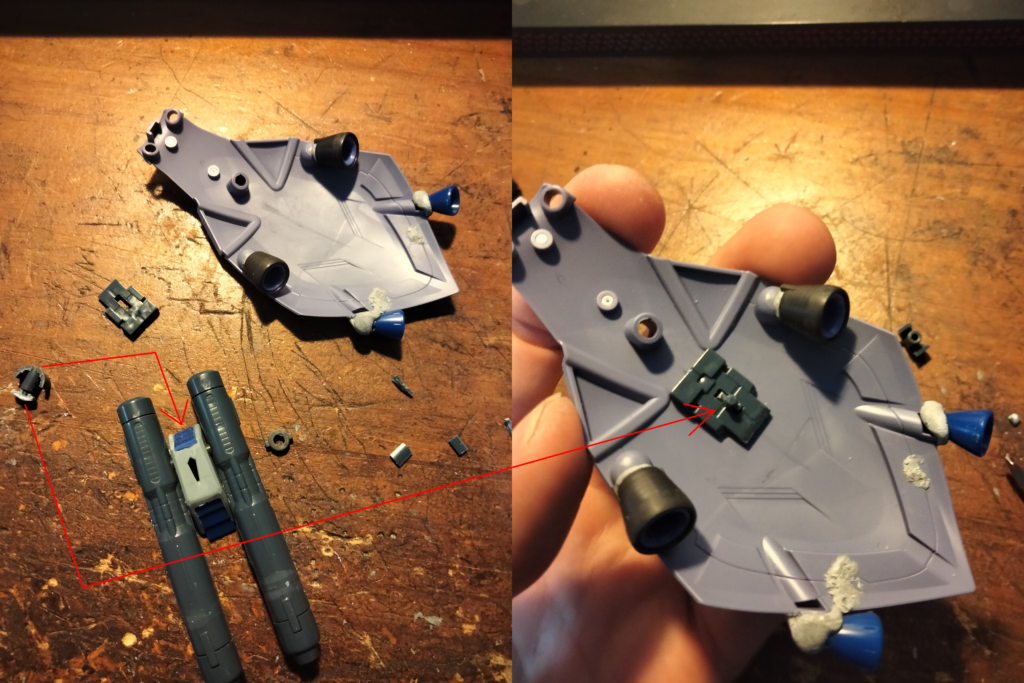
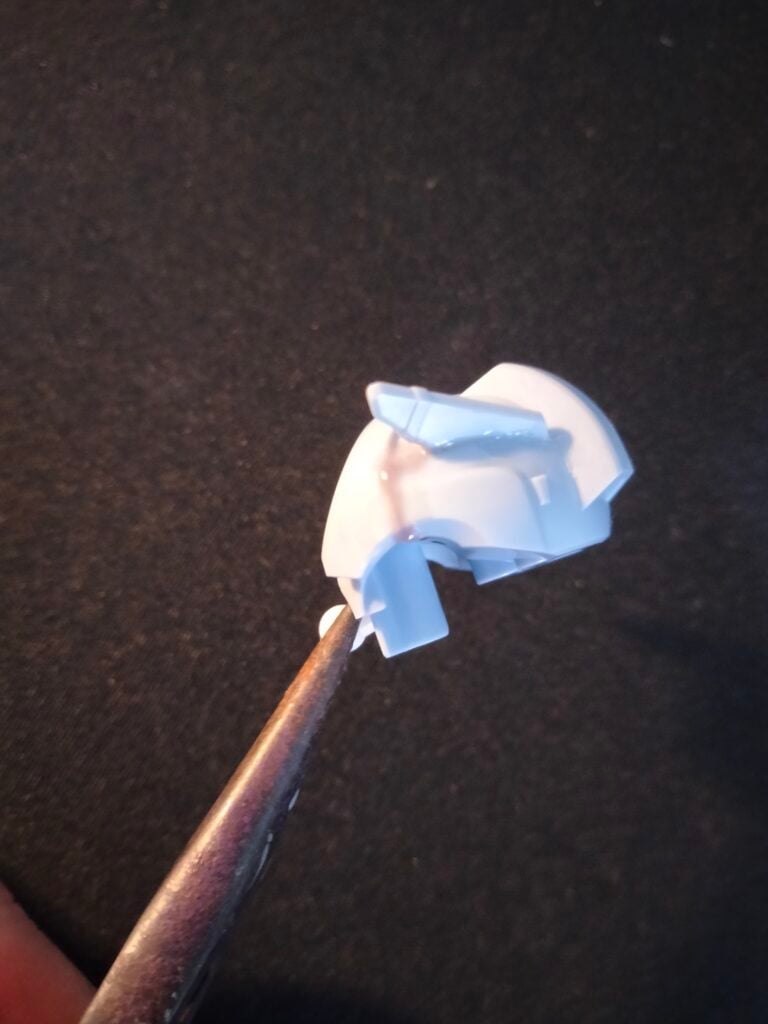
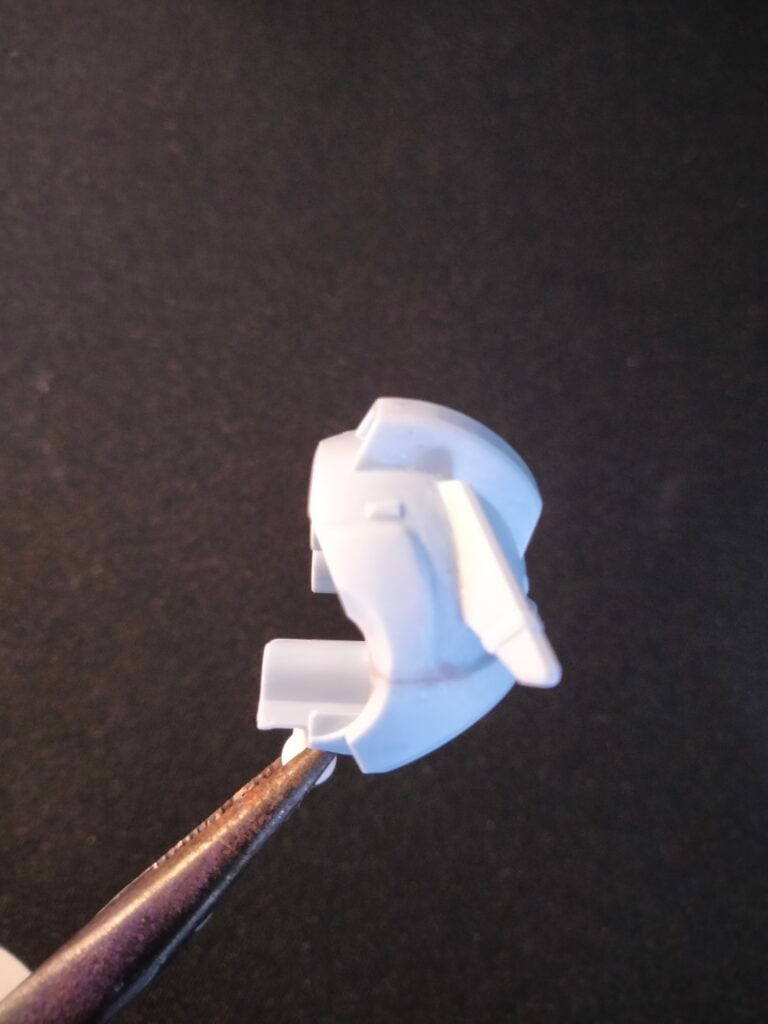
The length of the tanks taken from the original MG FAZZ kit were too long for the silhouette I wanted, so I removed a section and 3D printed parts to reattach the end cap of the tanks. 3D printing these parts allowed me to match the sizes of the mating parts with minimal sanding. The connection point for the two halves of the tank parts was within the section I removed, so I reused it to connect the tanks to the skirt. Using a connector here would make painting in subassemblies possible and avoid having to paint behind the tanks with them attached. Attaching the connector to the skirt was assisted by an additional part to increase the surface area for the glue.
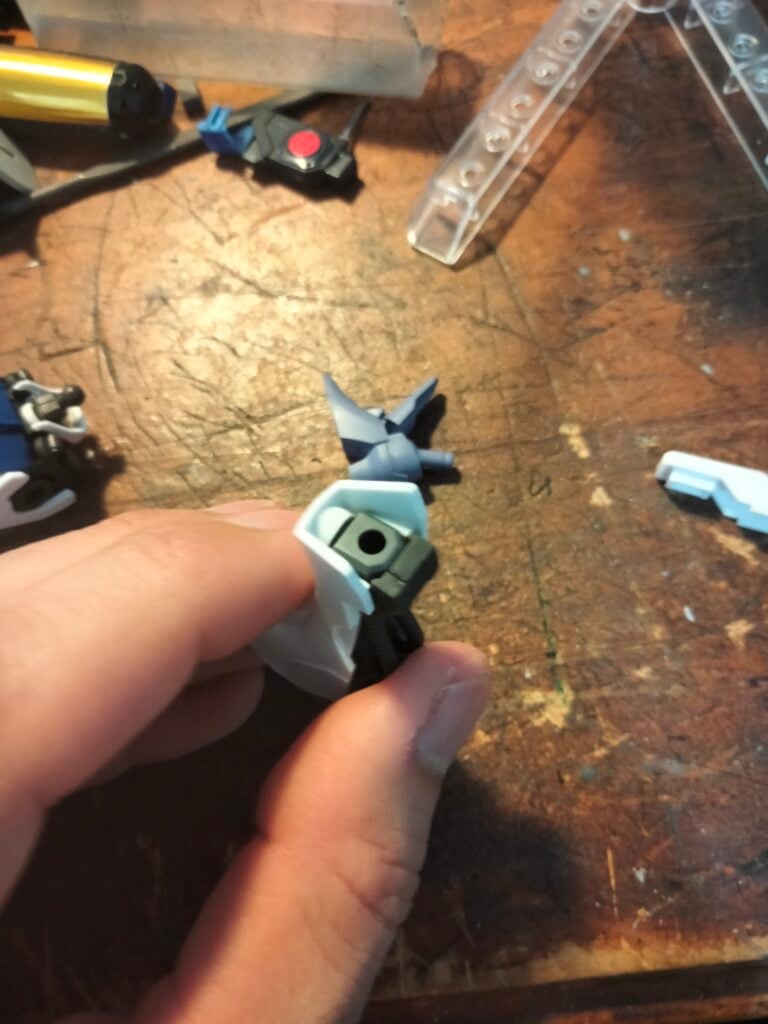
Customising the figure to give it a more mechanical look included adding parts from the HG Barbatos. 3D printed parts were used to attach the knee armor and to blend in the mechanical detail added to right arm.

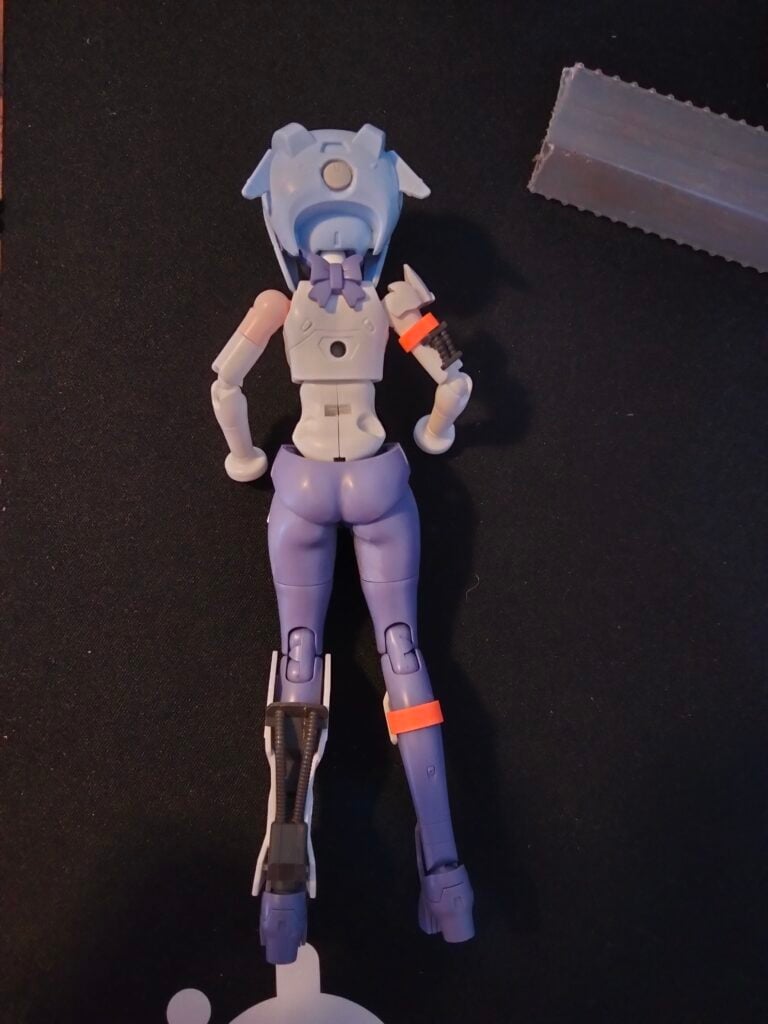
Adding the mechanical leg involved making the parts from the HG Barbatos fit the connector on the knee joint. I used a spare poly cap sized for the foot with a peg that suited the hole on the inside of the shin armor from the HG Barbatos. The inner frame and shin armor was then cut down to correct the length and to allow the lower knee of the Mobile Doll Sarah to slide in.


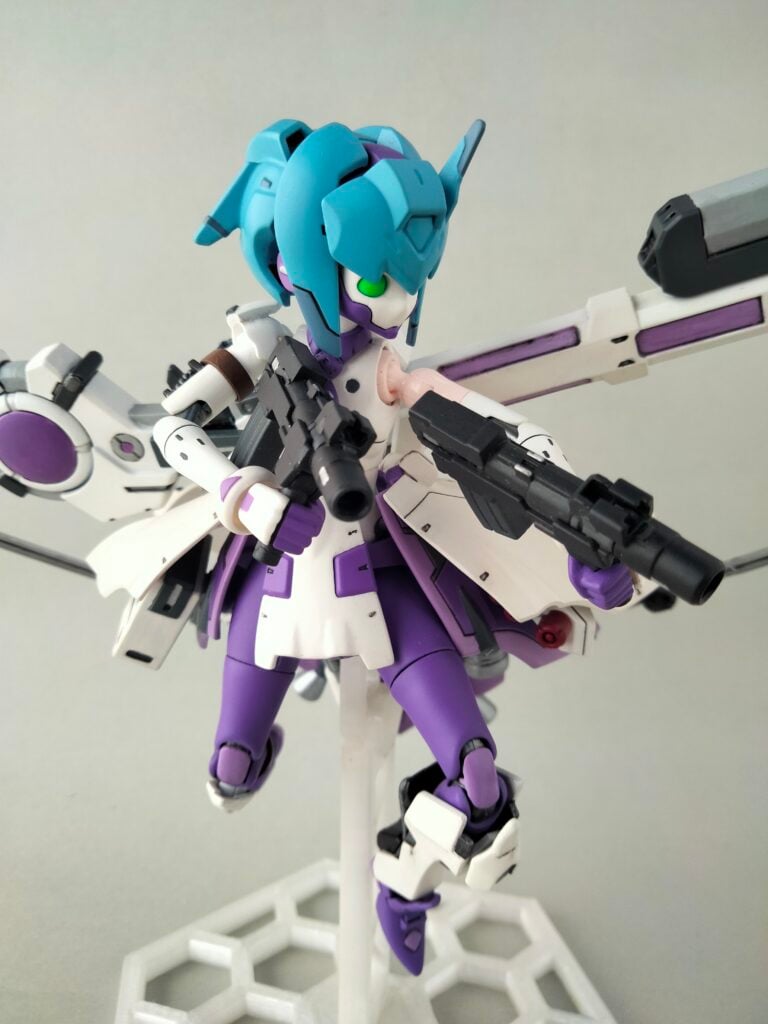
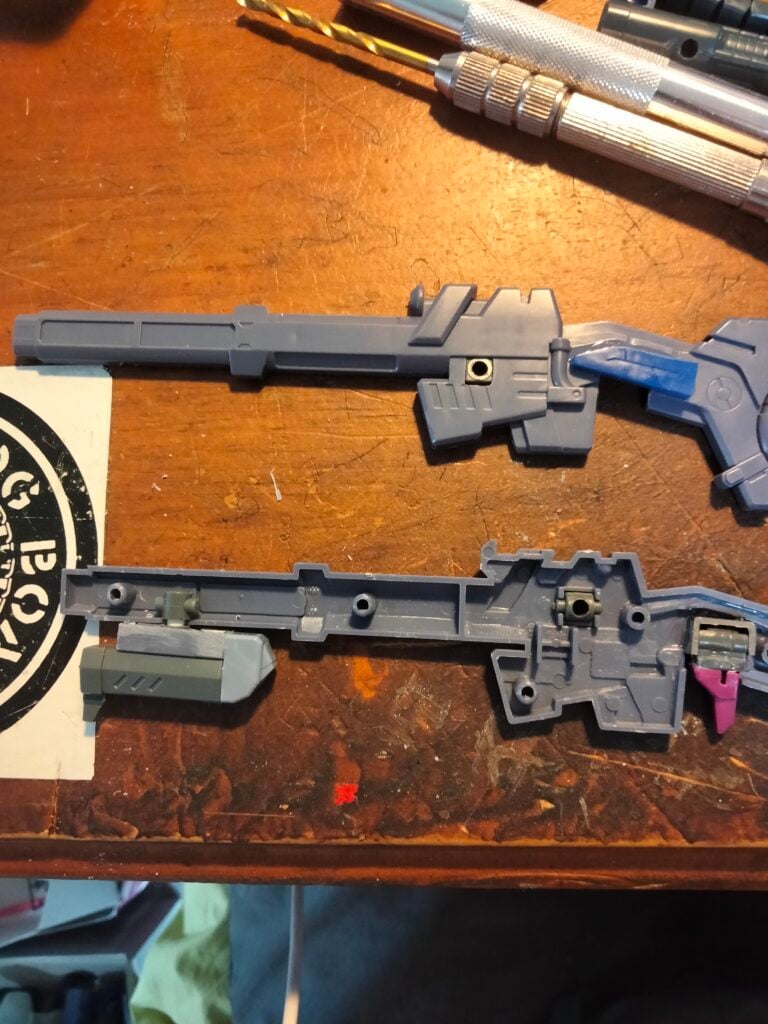
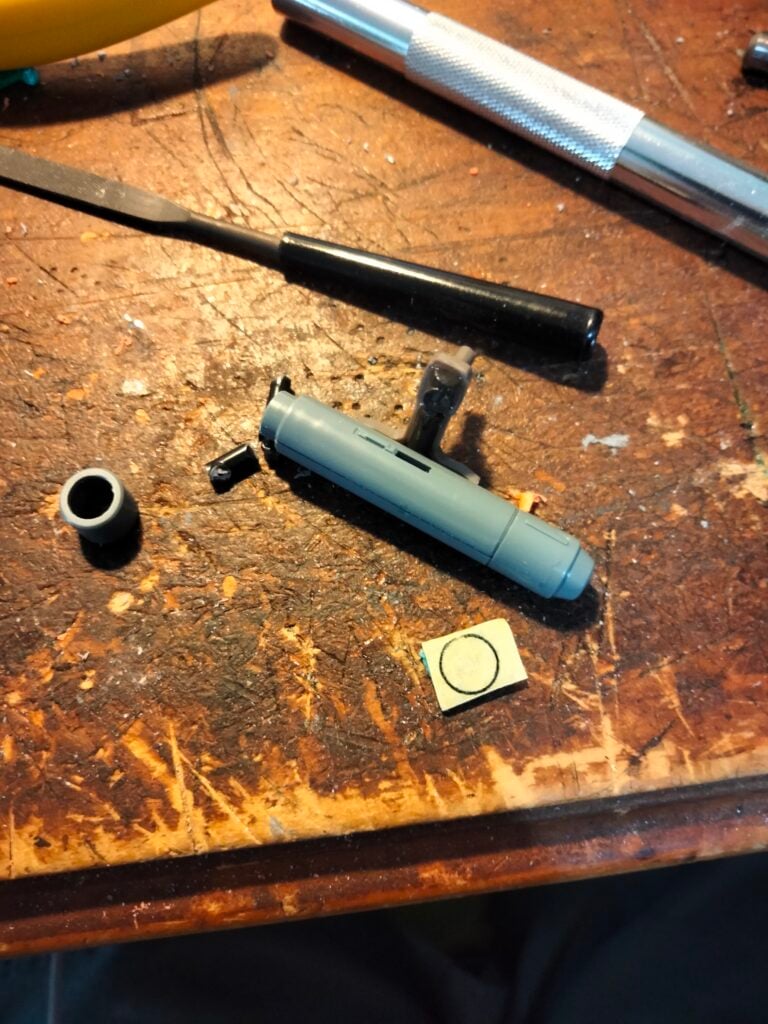
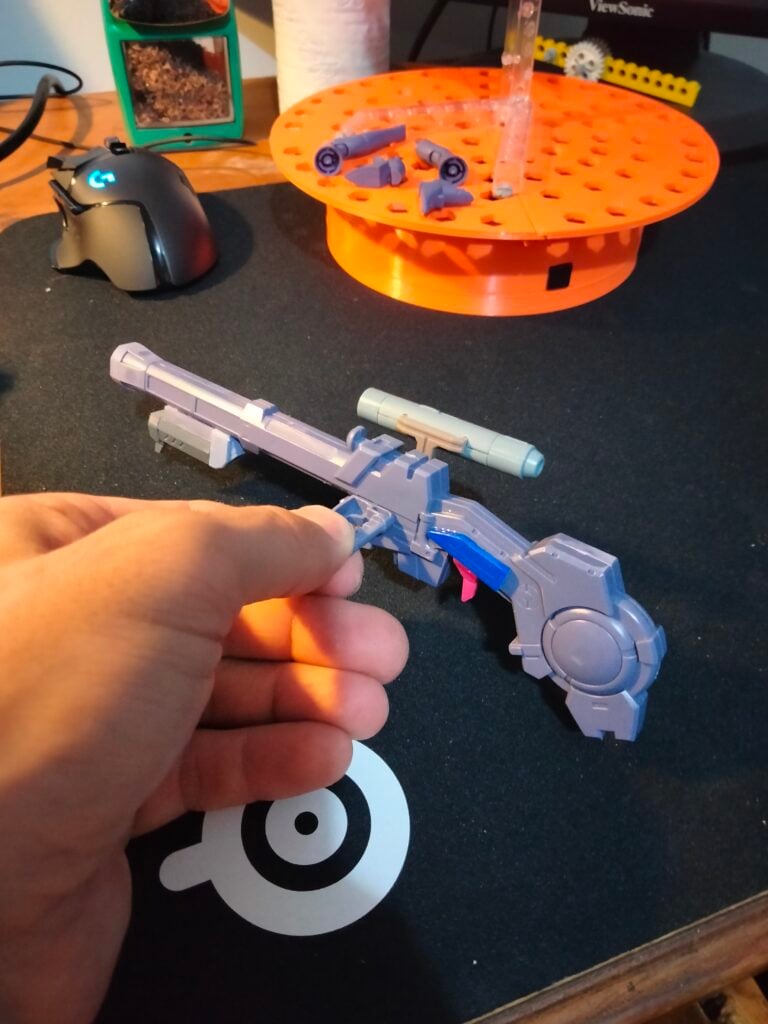
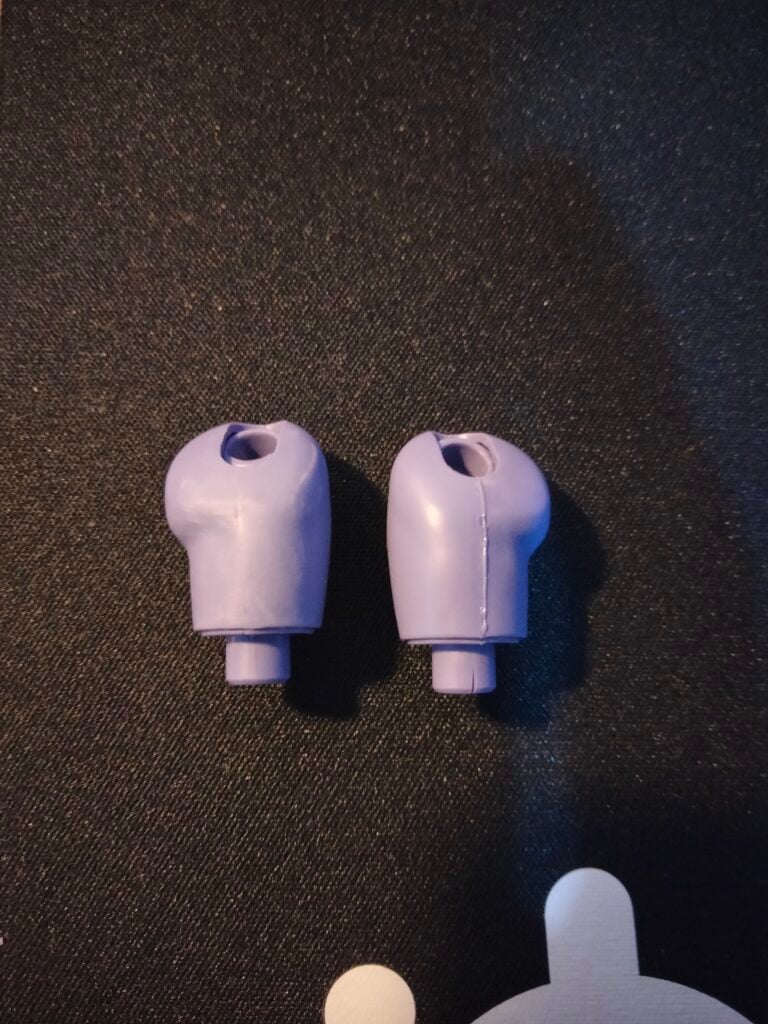
The large rifle added came from the HG 1/100 Serpent Custom released in the 2000s from BANDAI. Even though the rifle came from an older kit it had a fair amount of surface detail, therefore customization concentrated on new grips to suit 1/144 scale hands, adding a large scope, and a “grenade” launcher under the barrel.
Grips were filed down and Kit Bashed before being position on the rifle for a test fit. Parts were taken from the 1/100 FAZZ to create the kit bashed grip and cover the section cut out. The larger scope was kit bashed from 1/100 FAZZ and Serpent Custom parts while the lens for the scope was scratch built from a clear green runner. A poly cap was added to mount the “grenade launcher”‘ to allow painting in sub assemblies. The poly cap was held in place by scratch built brackets. More images of the rifle customization can be found in the gallery.


Clean Up
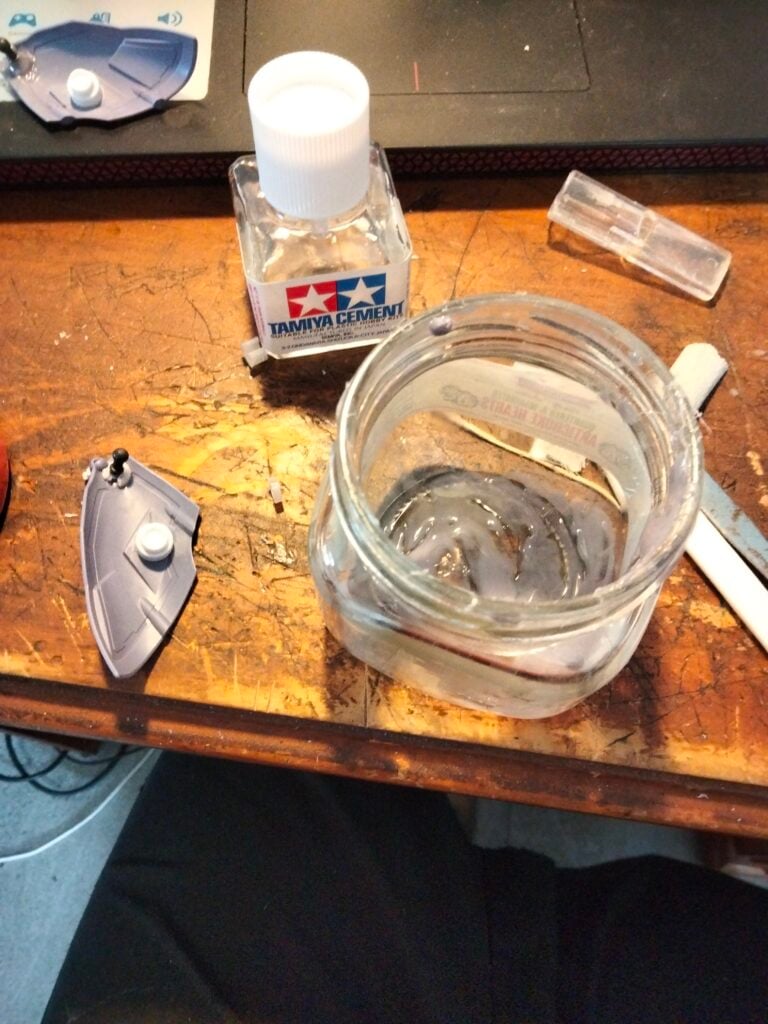
Being a HG kit from BANDAI there were seam lines to clean up and this was completed using TAMIYA Extra Thin Cement and a little squeeze to extrude come plastic. For removing the extruded plastic I start with a file then move on to sandpaper.

On the skirt sections of the kit there were areas where details where not molded and the gaps needed to be filled. To the fill the gaps “Sprue Goo” was made by partially dissolving small pieces of cut up runner in TAMIYA Extra Thin Cement. This mixture was then applied to the gaps using a tooth pick. These gaps were large and it took a while for the mixture to cure, and if I were to tackle these gaps again, I would first fill with plastic plate and super glue.

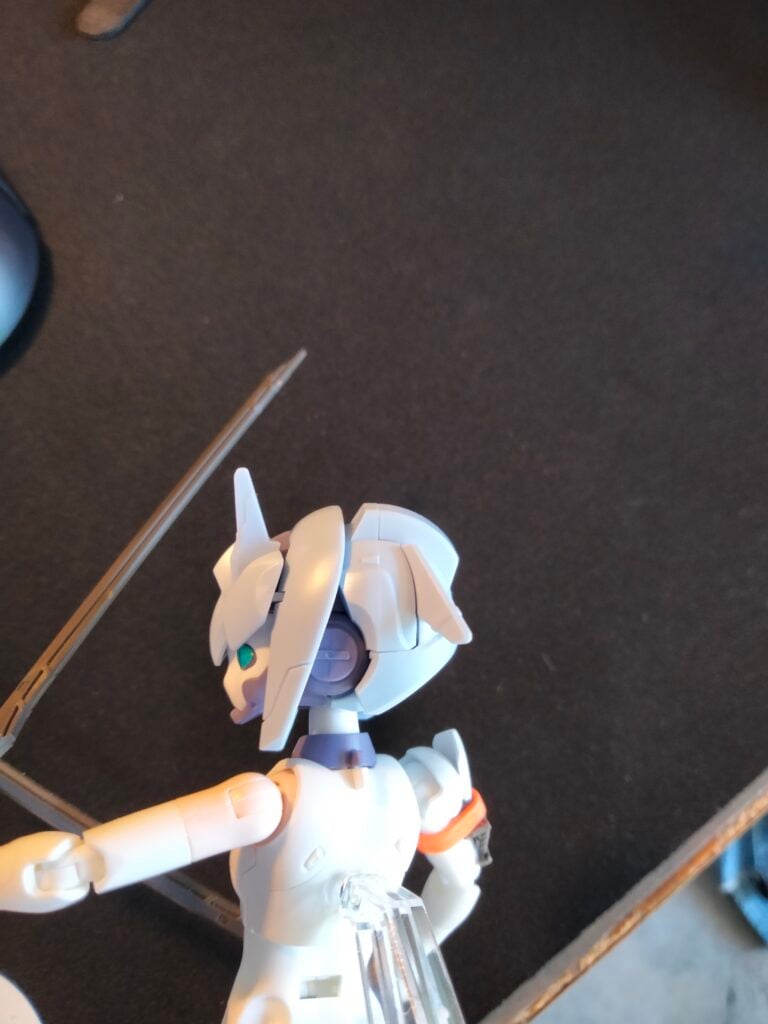
There were areas on the head of the kit with small gaps and the “Sprue Goo” worked very well to fill these. The small gaps were likely from modifying the head pieces to allow the face to slide in and the seamline on the head to be closed.
3D Printed Parts
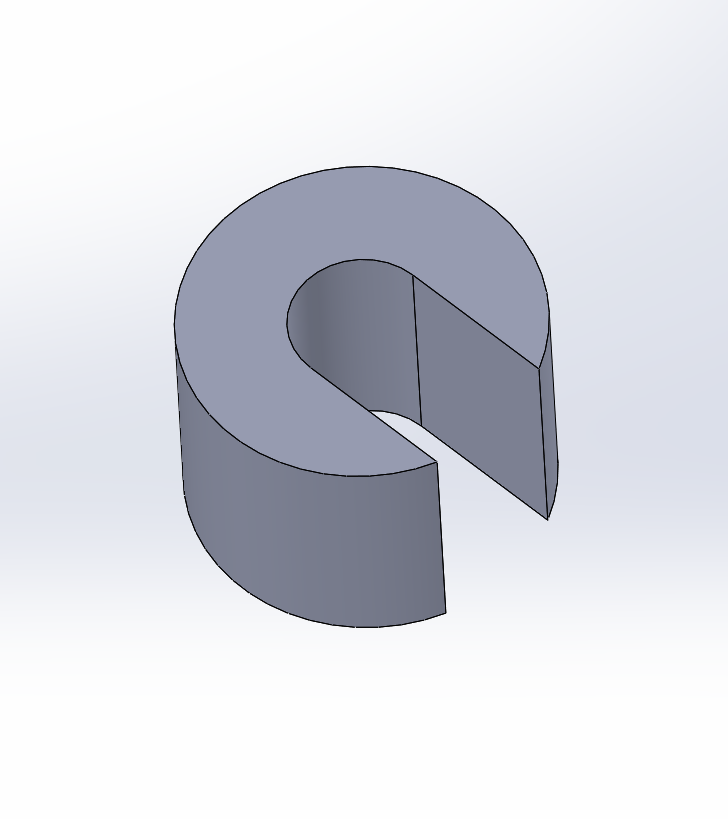
3D Printing was used in multiple places to customise the kit by creating attachment points, filling gaps and reinforcing the model.
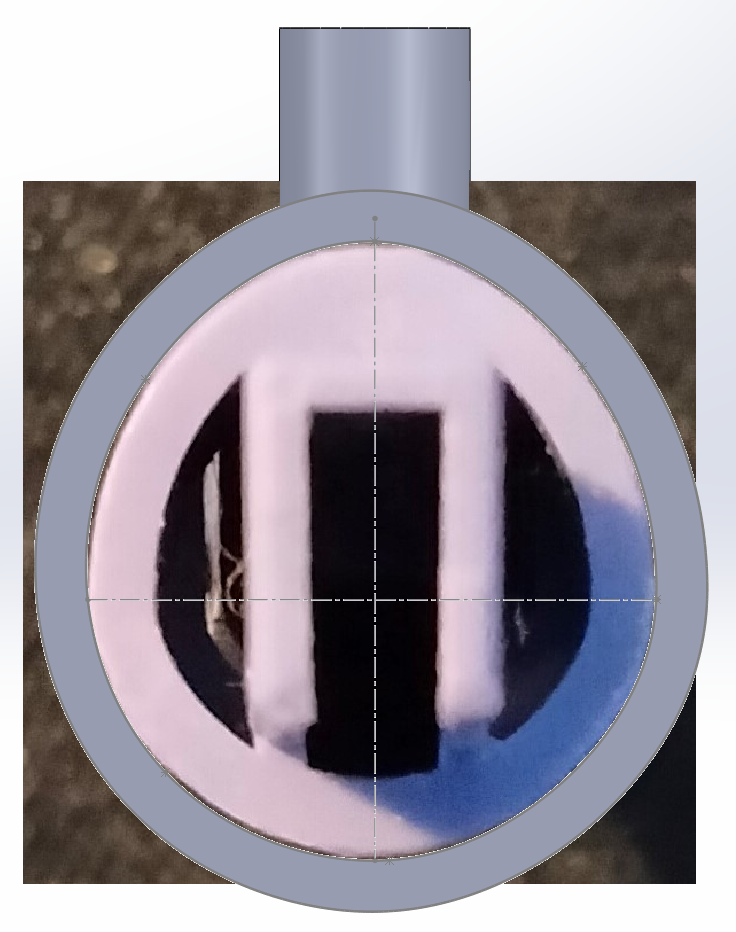
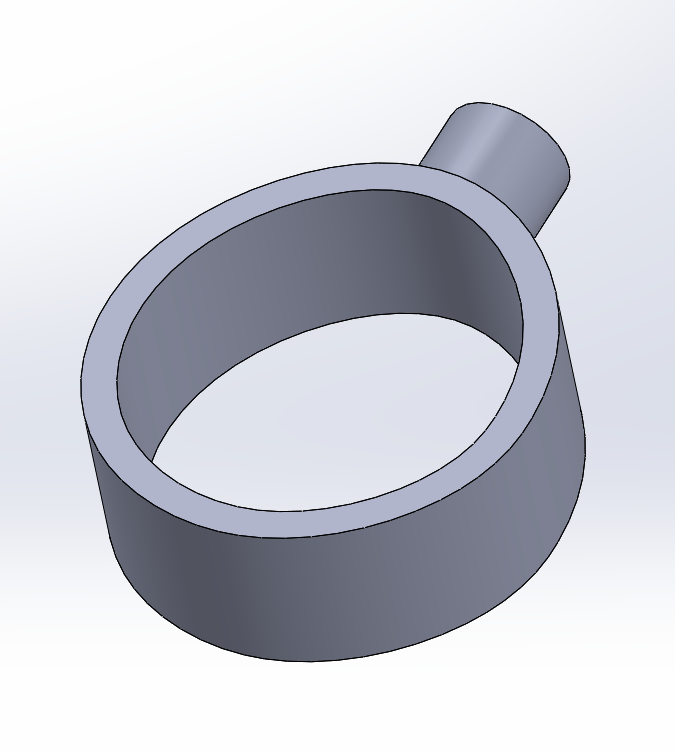
Given the geometry in places on the kit, images were used to create the models for 3D printing. The band on the calf to create the attachment point for the knee armor was completed this way as well as the band on the right arm.

In other places on the kit, such as the skirt, measurements were taken to create the models for 3D Printing and gaps were filled using “Sprue Goo”. The image approach could’ve been taken here too but the parts were in an easy spot to clean up post gap filling.

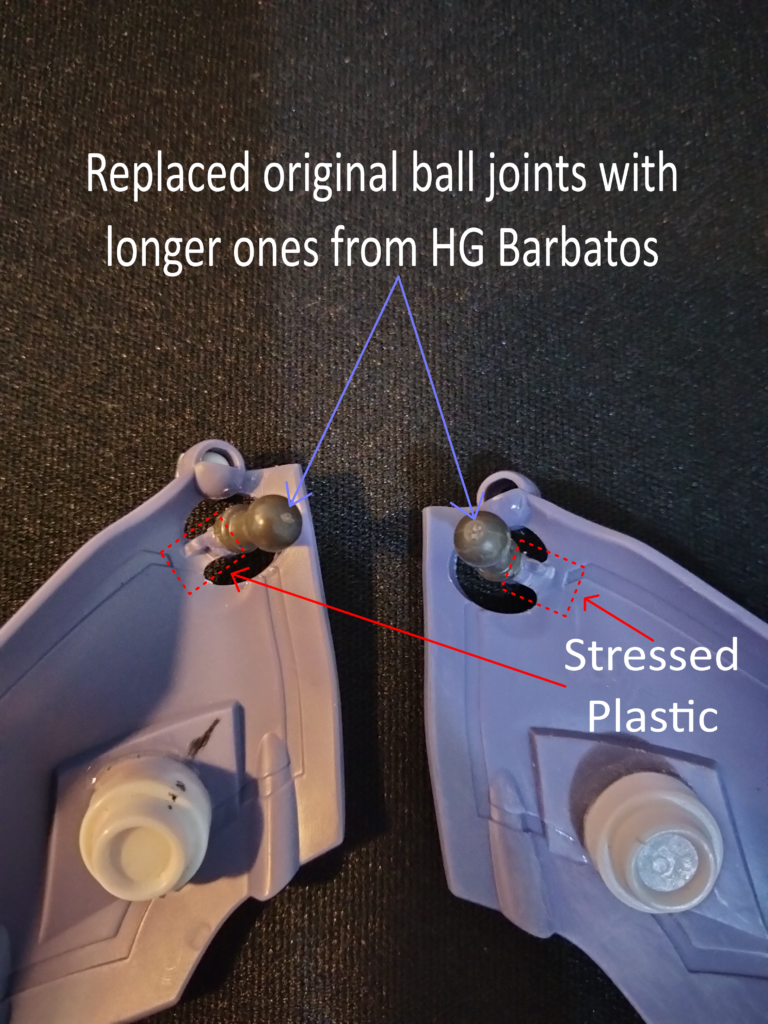
The side skirt parts on the kit sat too close to the body after the customisations which stressed the joint. Reinforcing the joint began with replacing the original ball joints with joints from the HG Barbatos that were longer. Next a part was modelled and 3D printed to fill the gap around the joint. Finally, too much “Sprue Goo” was applied to gap fill and further reinforce the joint on the underside of the part. In hindsight pinning and gluing the replacement part from the HG Barbatos would’ve removed the need for so much “Sprue Goo”.


Painting
The paint scheme for the kit was not too far from the original using shades of purple, blue and white. Citadel and Vallejo paints were hand brushed on while rattle cans were used for priming, the large purple sections, and top coating.
Before painting began test pieces were completed using leftover runners. All paints are not born equal and doing test pieces is great insurance, especially when using hardware store rattle cans.

Leftover runners also make great part holding sticks for painting by adding in some Blu Tack and masking tape. When the part is small tapping a toothpick or a sewing needle to the end of the runner helps find somewhere to attach the part.

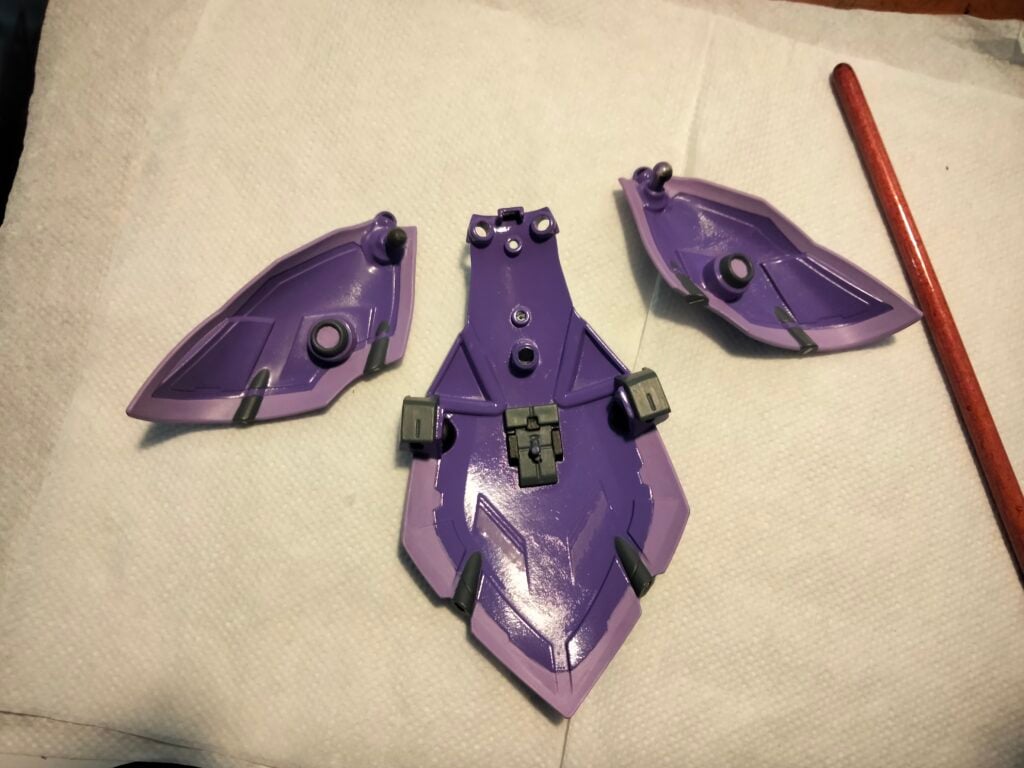
The colour scheme was guided by the panel lines present on the kit and the customisations. This made hand brushing easier as I always had edges to paint up too. The skirt parts are a good example of this, where the customisations got painted with a dark grey or black, and the original parts got two shades of purple, with the lighter being hand brushed and the darker being rattle canned.
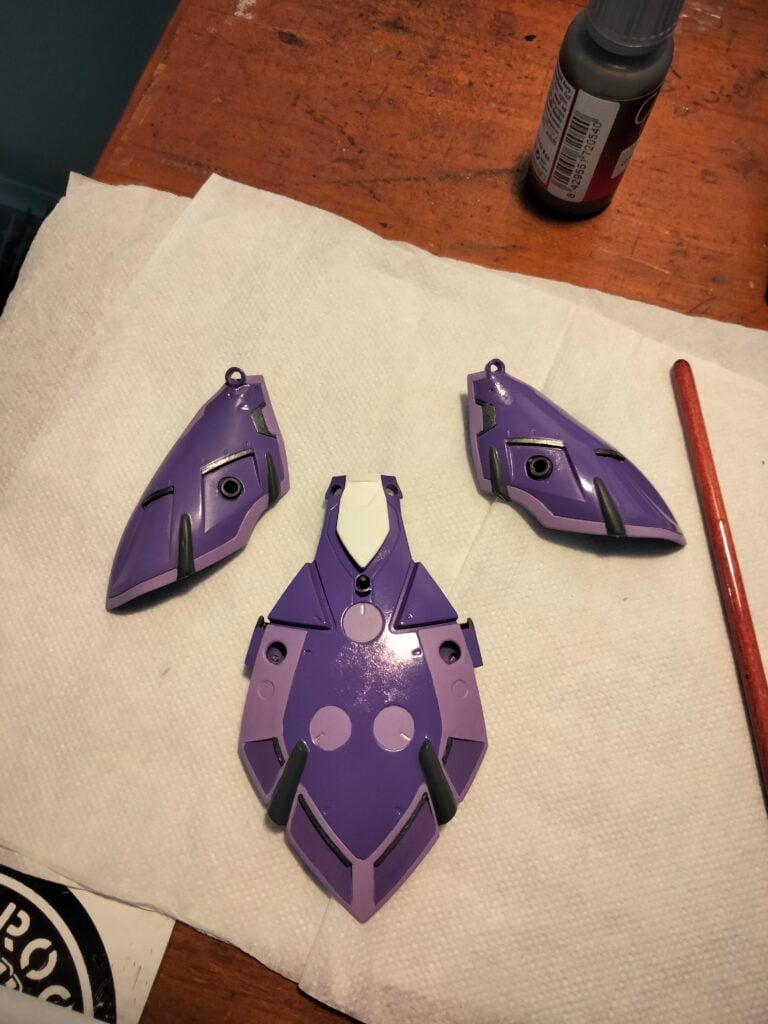
White sections were rattle canned white to avoid hand brushing on 10000 coats of white. By rattle canning white all the white parts (even if there were molded white) I wanted to achieve a uniform finish. This mostly worked, but I found out that white is a tricky colour to work with.
One aspect of the build that went well was creating subassemblies for painting. This greatly helped painting in details and I was able to pose the kit freely after painting, without revealing too many unhappy accidents.
Final Photos
(& Thoughts)
The struggle painting white was felt and I did not take decent photos of when things did not go to plan. From the final photos there are details that are unfinished because I called the kit “done” at this stage as the next project was gaining momentum.
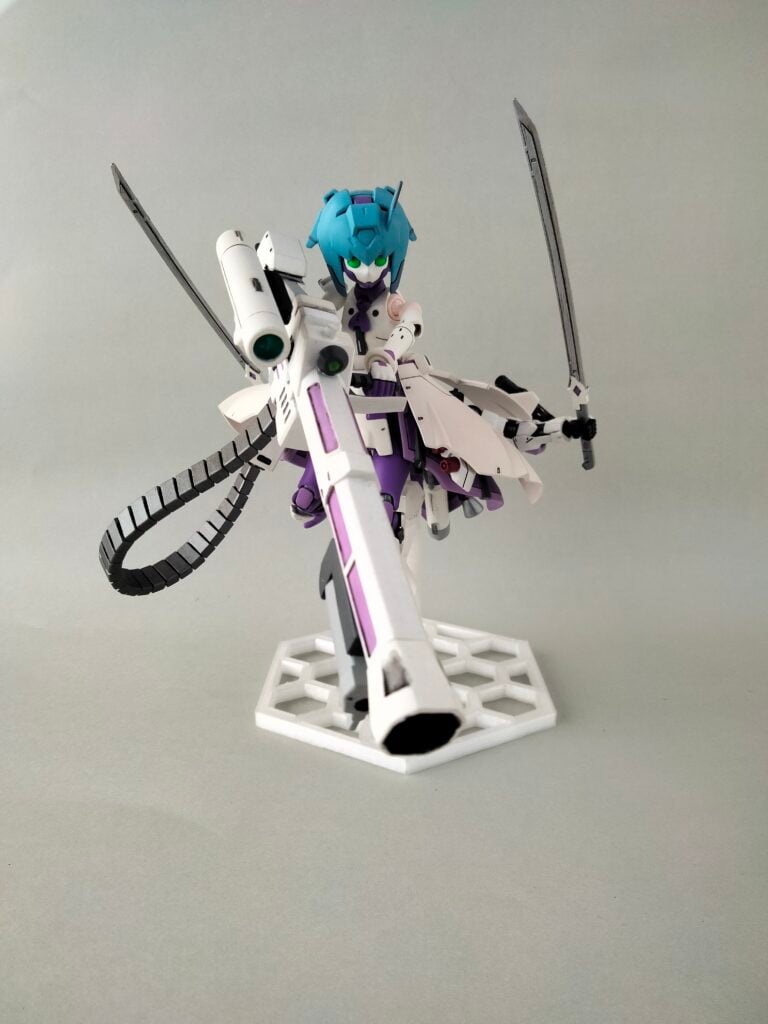
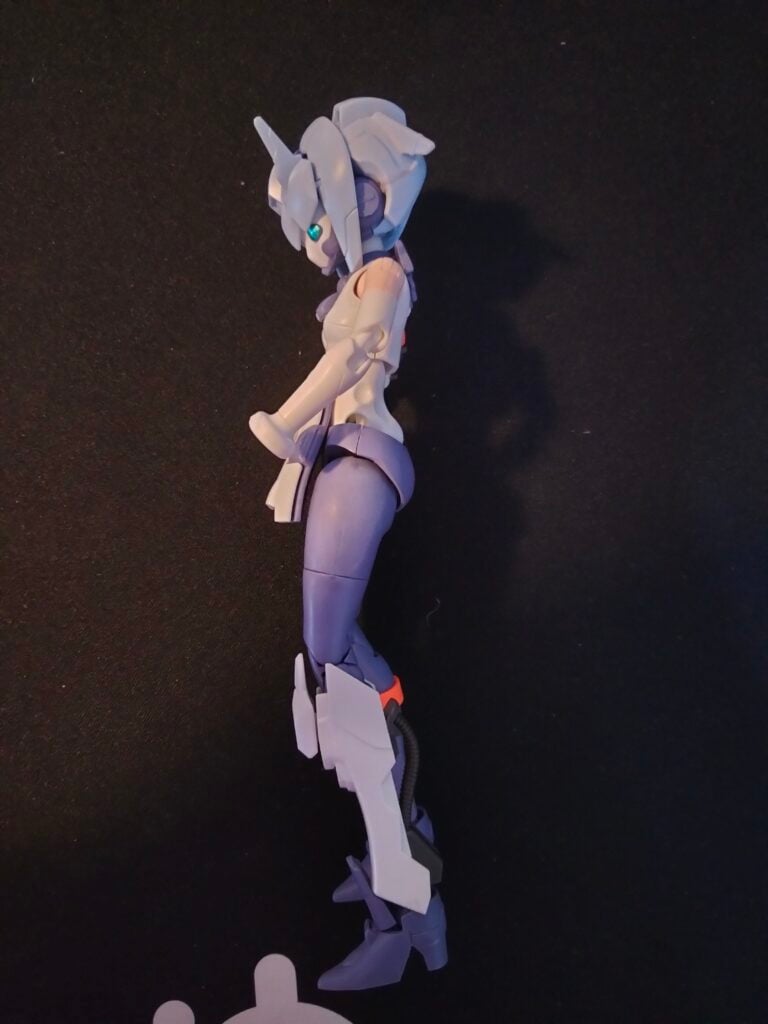
This project was the most customizing I had ever attempted and I’m calling it a win because I was able to repose the kit showing off many of the customisations. More images in the gallery!