I customised the HG Sinanju for my entry into the UC verse AU contest hosted by ZakuAurelius (YouTube, Store, Blog) & USA Gundam Store. The contest was held over YouTube and gave 8 weeks to complete your entry.
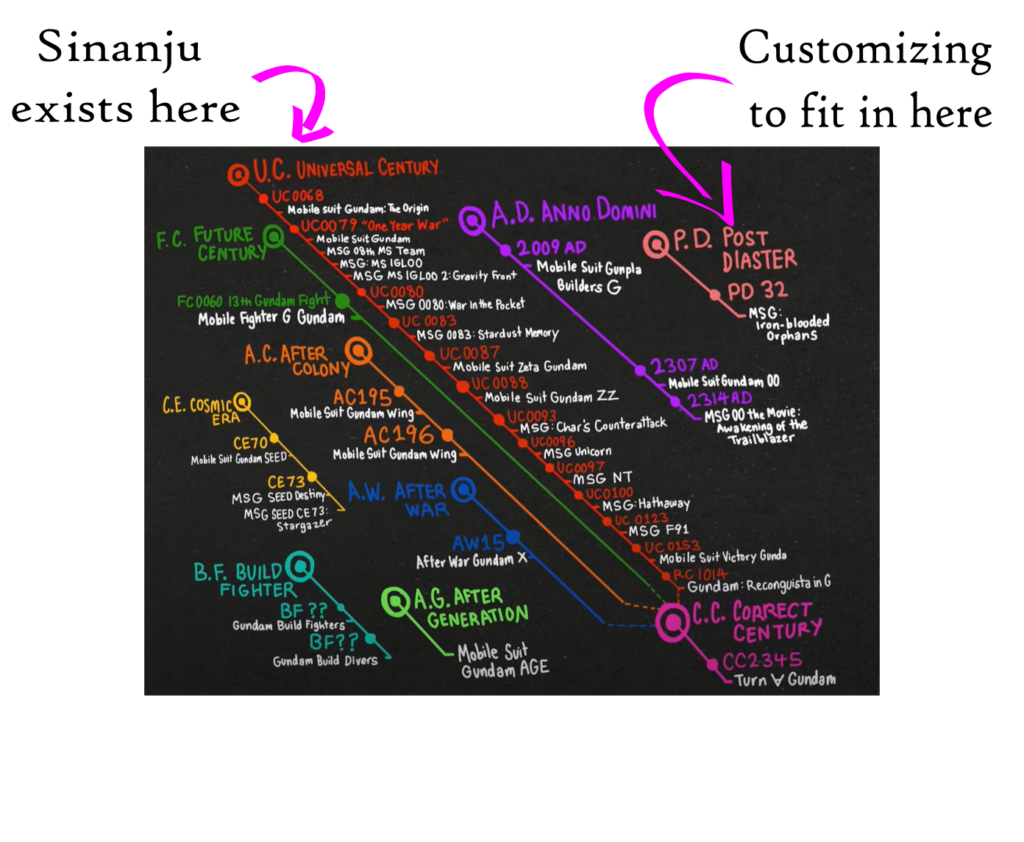
As the contest title suggests the main criteria was to take a kit from the Universal Century (UC) and customize it’s appearance to make it look like it came from an Alternative Universe (AU). I choose to customize the HG Sinanju from the UC to make it appear from the AU Post Disaster.
Here is a hilarious brief-ish video explaining the Gundam Timelines, but for those without a free 60 minutes all universes are summed up in the image noting the UC and AU Post Disaster.
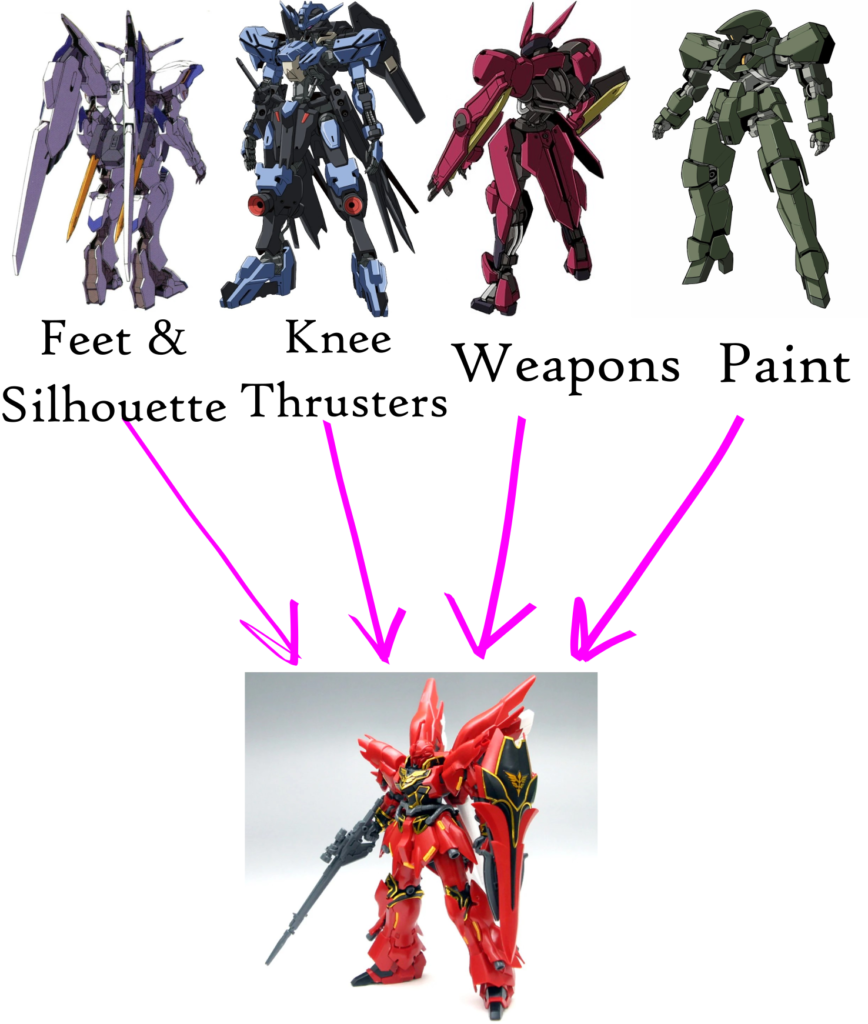
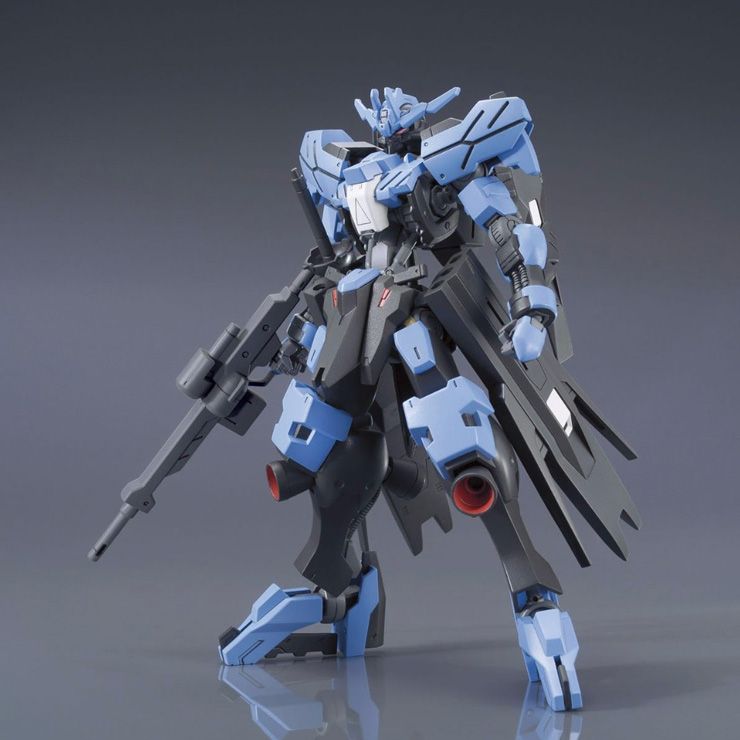
With Post Disaster being home to Mobile Suit Gundam (MSG) Iron Blooded Orphans (IBO) it was time to pick out features from the Mobile Suits in that series. The four referenced Mobile Suits were Bael, Vidar, Grimgerde and Graze pictured respectively noting the features.
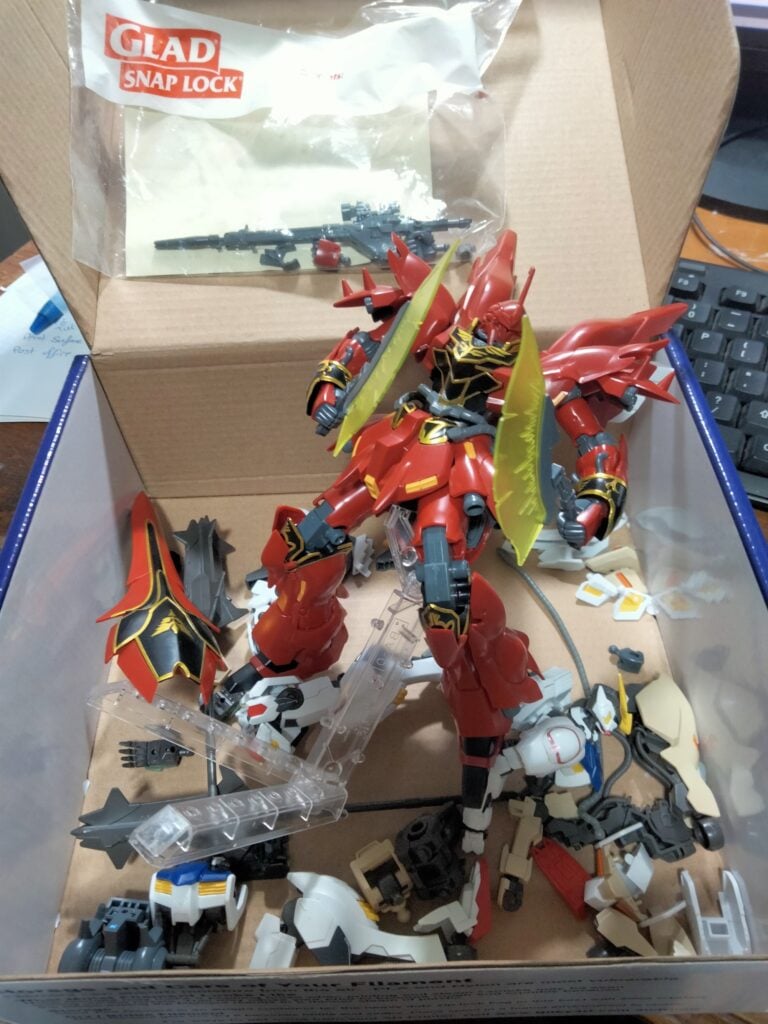
Its now time to start planning and Roughing Out the build.
Contents
Roughing Out
A bit of planning went into roughing out to help finish the kit in 8 weeks. I broke the kit up into components and estimated how long each would take to complete.

This served as a guide to bound how much customization I should attempt and helped keep my entry on track.
I used reference images to get an IBO Gundam silhouette to aim for and began looking for areas to customise.
The feet immediately stood out as IBO Gundams have a distinctive foot design, while swapping out the beams for melee weapons is a must to fit into the IBO universe.


Posed with weapons out and mounted on the forearms like the Grimgerde Gundam looks the part. With the final pose mostly roughed out, we can begin clean up.
Clean Up
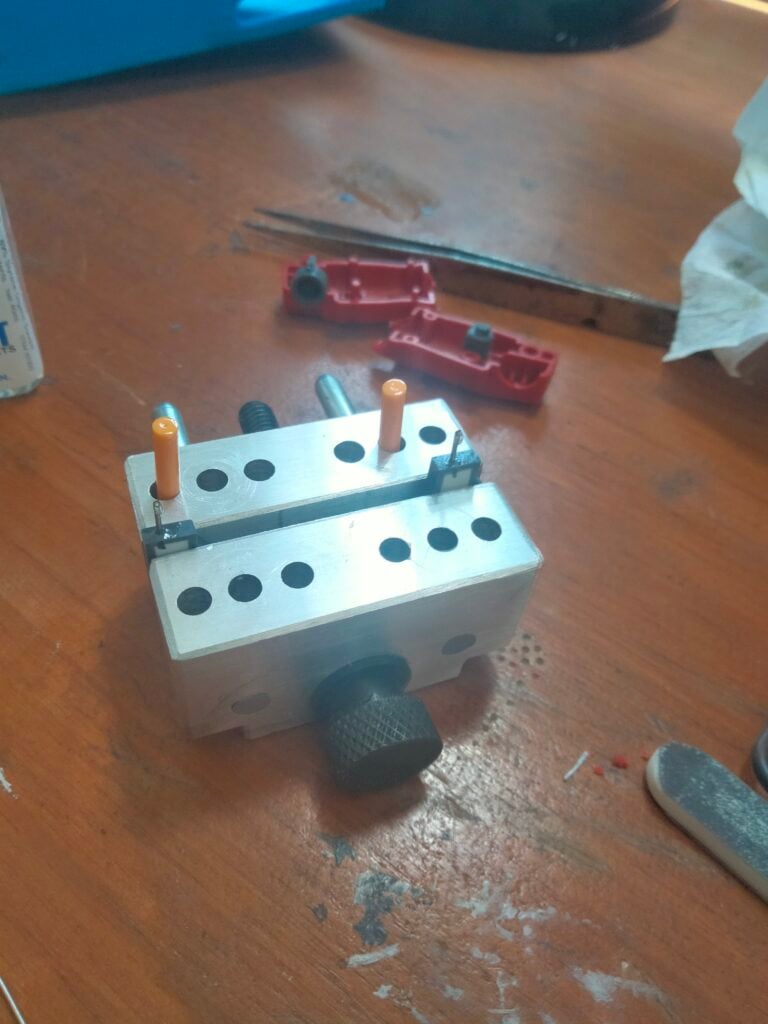
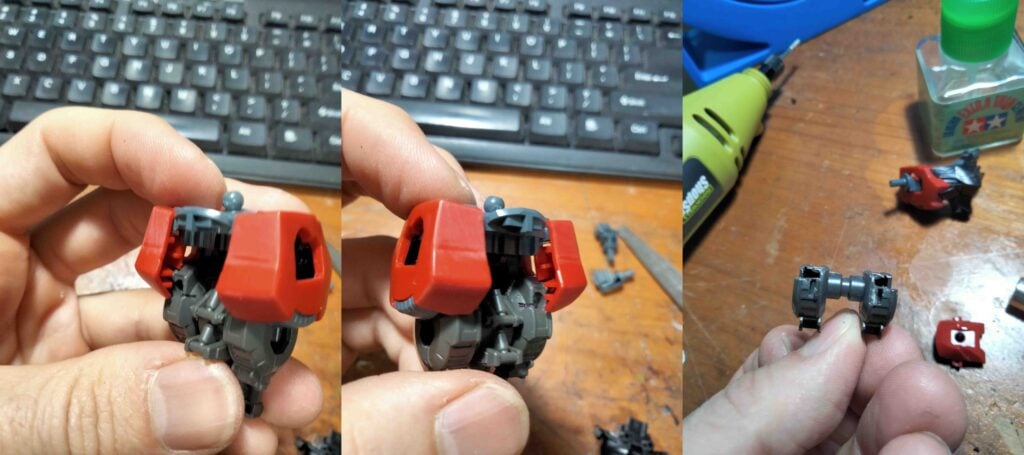
The thighs of the kit had the largest seamline and to create sub-assemblies for painting a new connection was made for the knee joint.
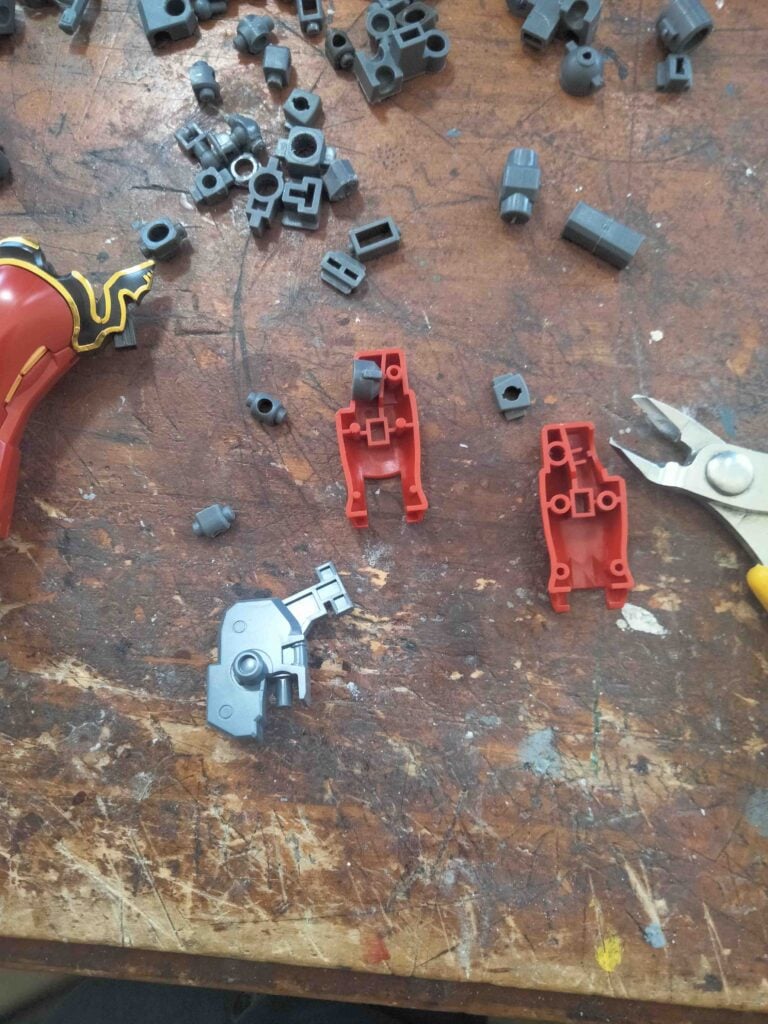
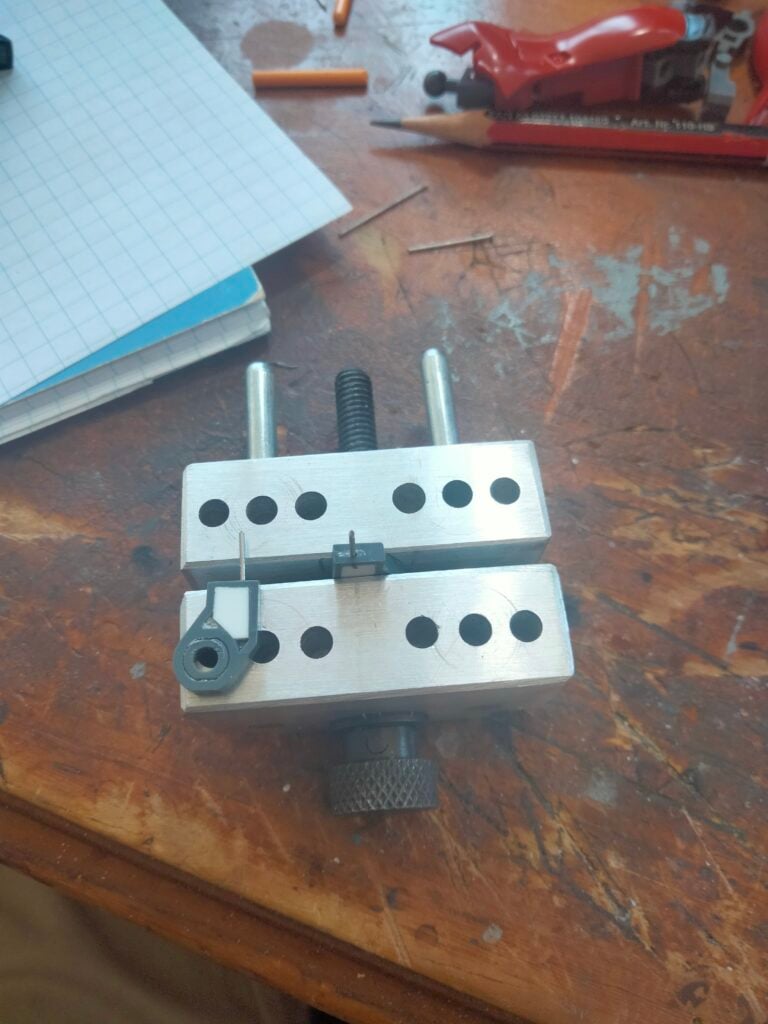
Spare polycaps and replacing the tabs with a peg allowed for the knee join to be removable once the two halves of the thigh were glued together to remove the seamline. This step was repeated for the elbows on the kit adding in the peg connection between the elbow and forearm.


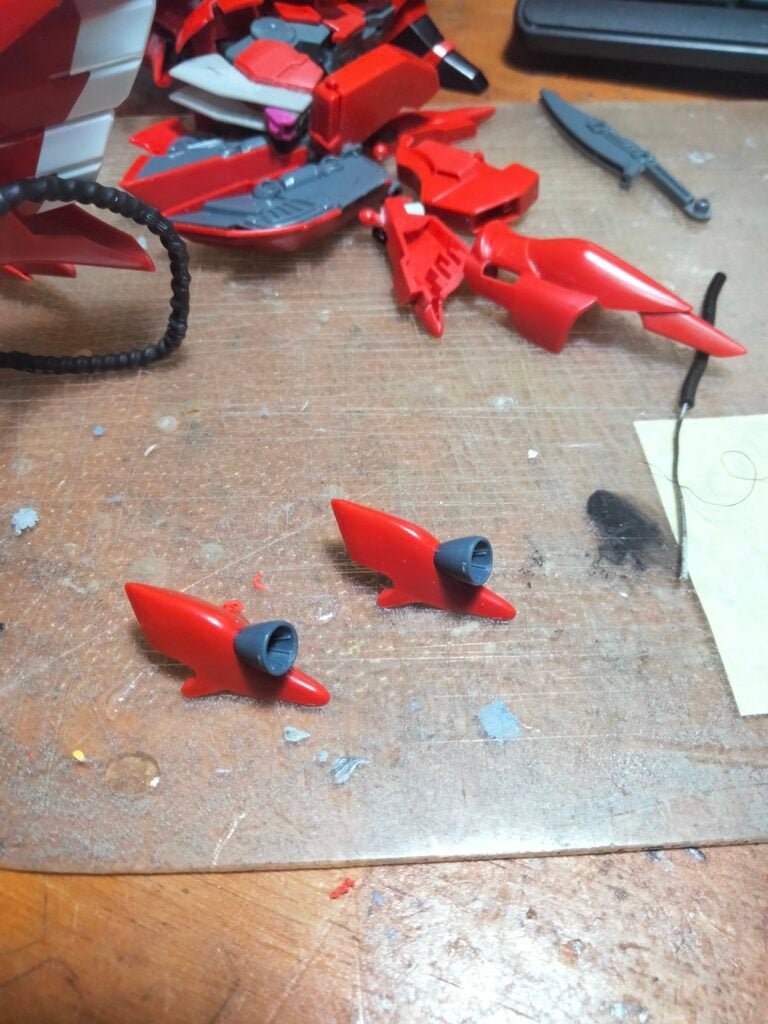
As for areas requiring a standard clean up, a drill handle helped hold the tiny thruster parts and the back thrusters were given a good old sand to removed their mould line.
Customizations
Customization areas to give the kit a Post Disaster appearance were decided to be the feet, knees, torso and weapons. Along with replacing the tanks on the backpack with piping details.
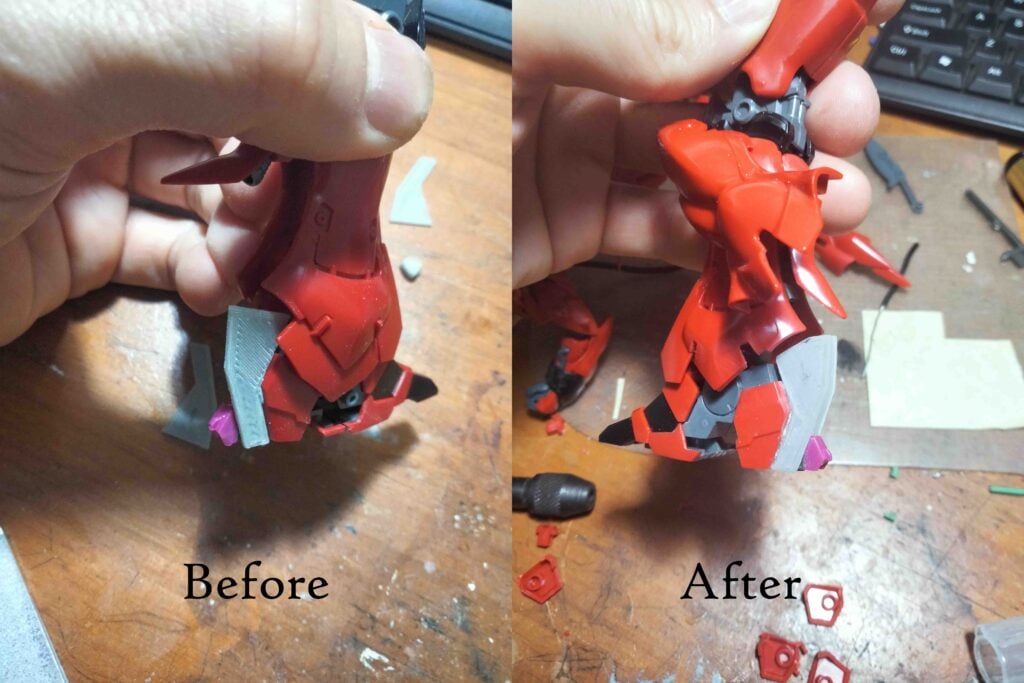
The heel was extended on the foot while removing sections to create a separation between the front and rear parts.
Thrusters were added to the knees to mimic the feature seen on Gundam Vidar. These were kitbashed from spare parts and bonded with plastic cement. This customization felt like a “free ride” as the kit had circular details where the thrusters were bonded.
The bulk of the customization work was around the torso to fit the AHAB reactor that is unique to the Post Disaster universe. I kitbashed one from a HG Barbatos and trimmed parts to fit, keeping the Sleeves iconography from the Sinanju Gundam.

To not increase the length of the torso the AHAB reactor was also trimmed. My rotary tool saved a lot of time in this customization!
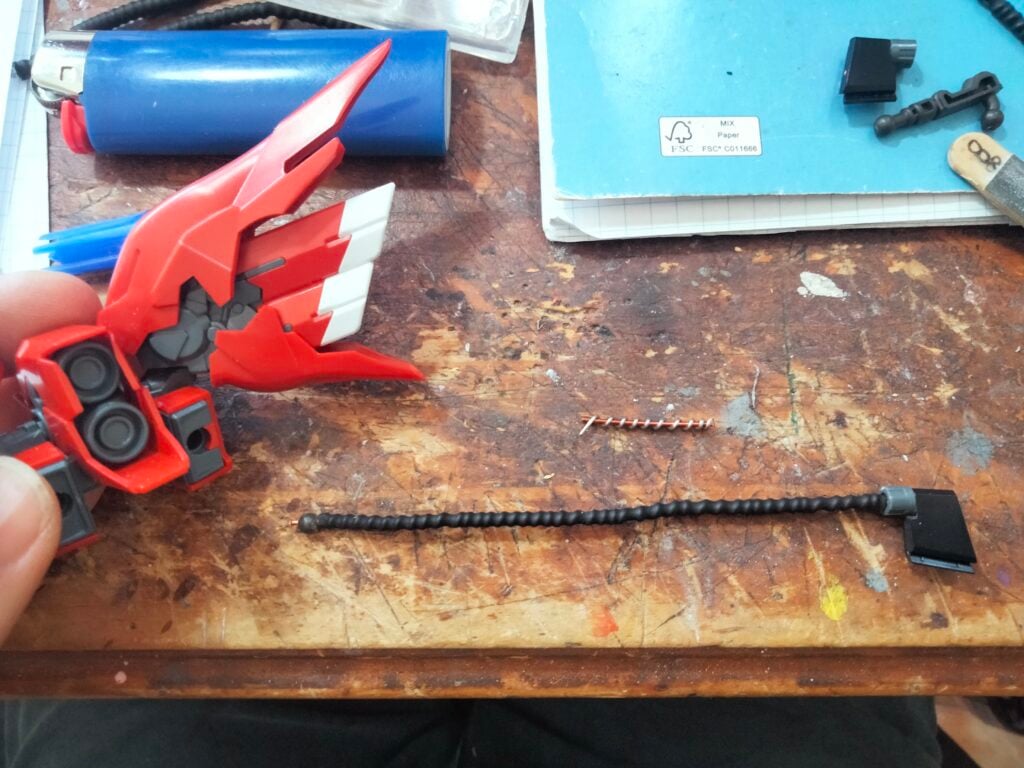
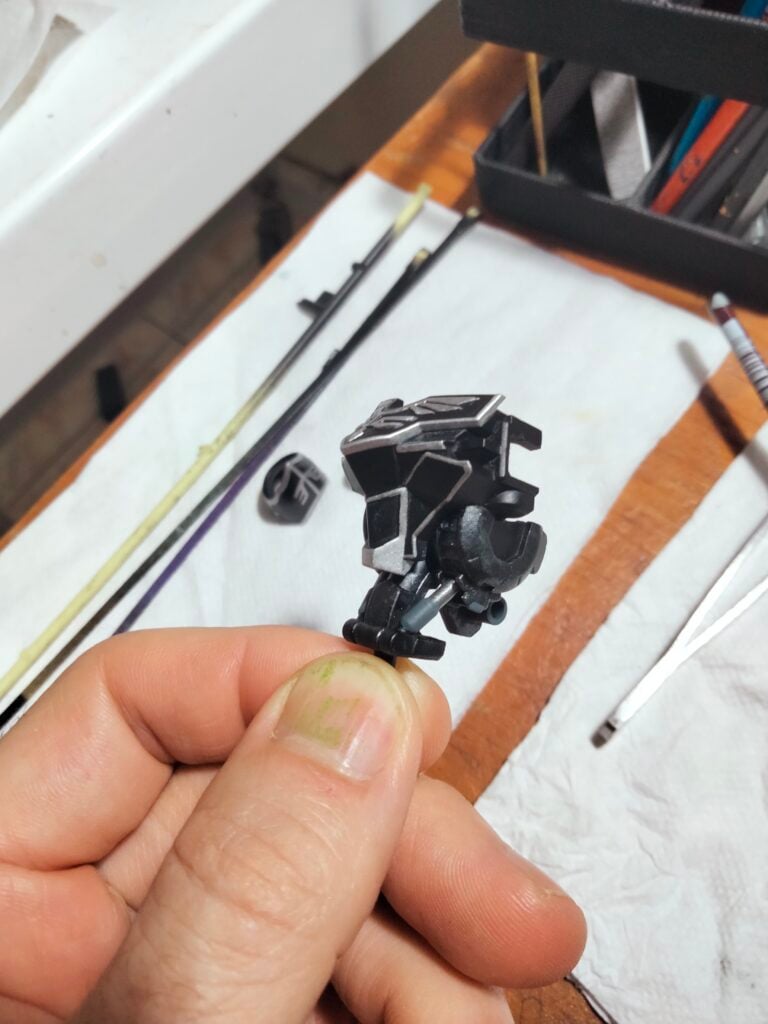
Piping details were created by wrapping a small gauge wire around a larger gauge wire using a power drill. Heat shrink is applied next, I used a lighter but I will recommend using a heat gun for safety.
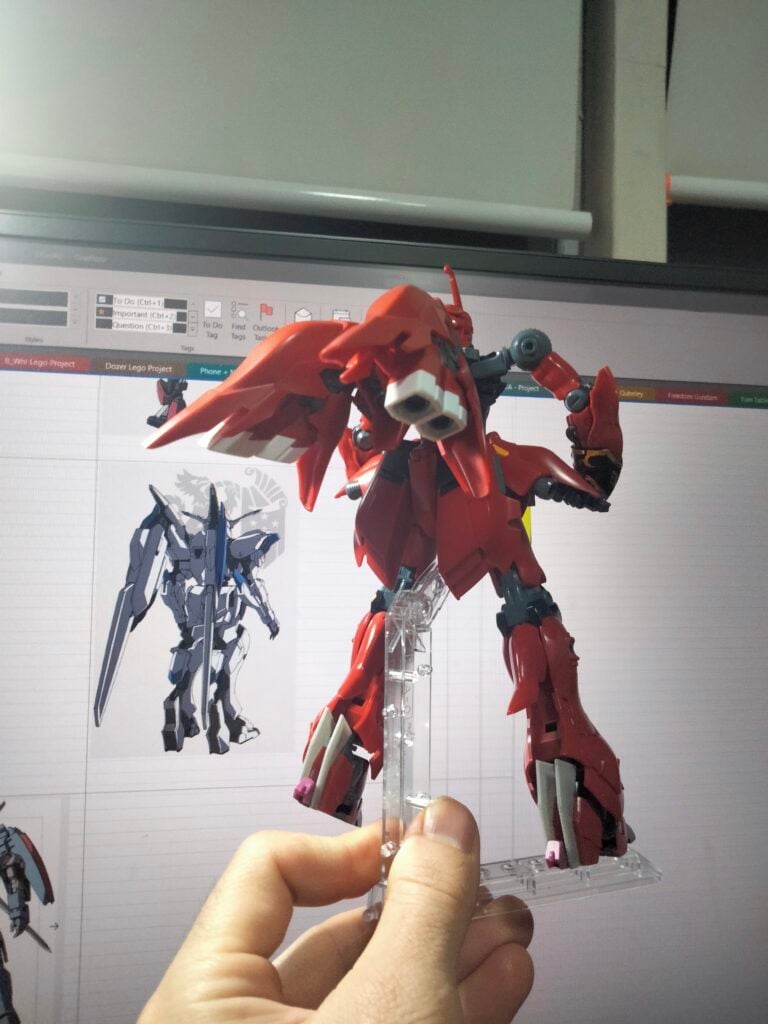
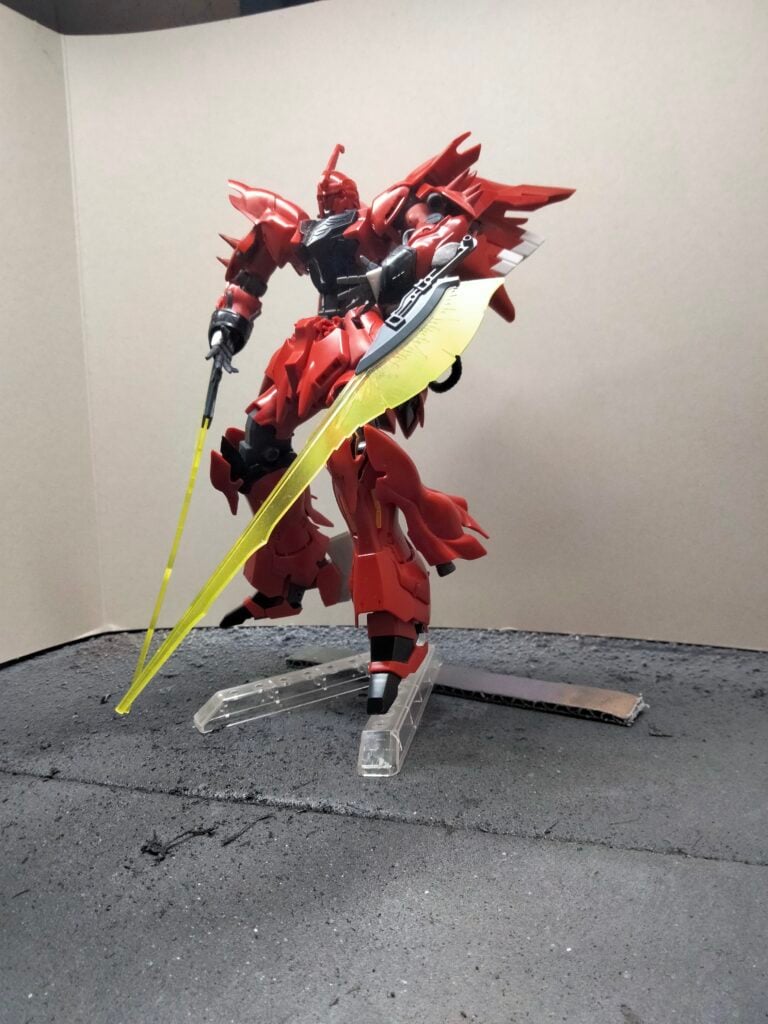
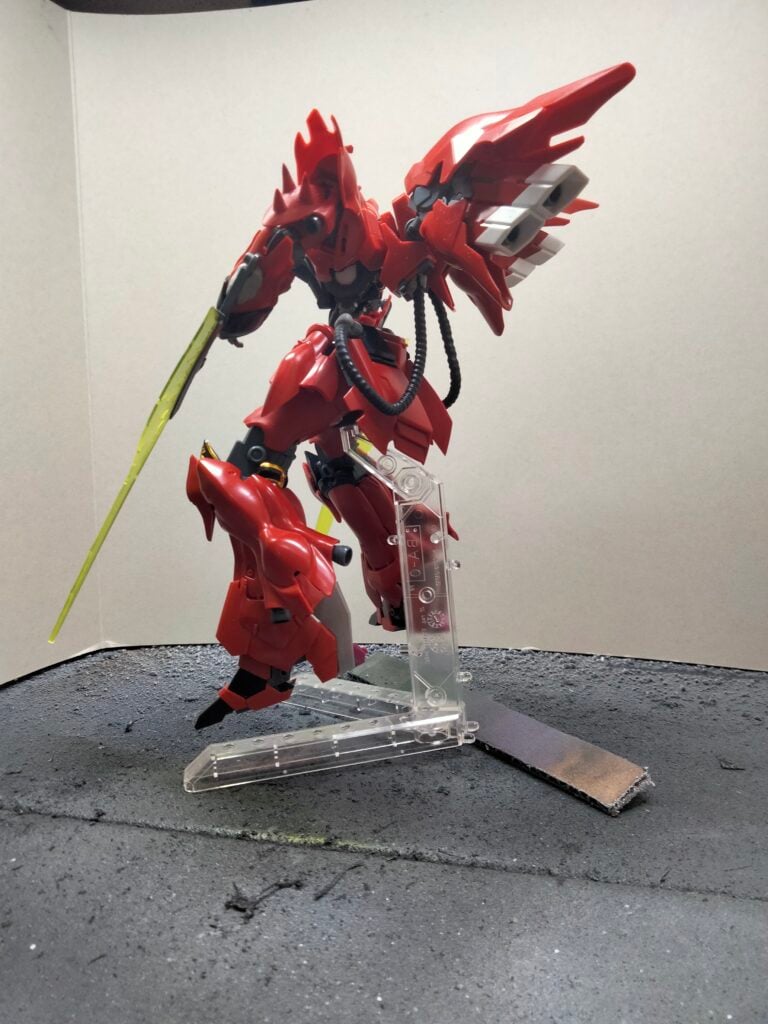
Posing the kit up on a stand to see the customizations coming together. I’m happy with the appearance as its starting to look more like an Post Disaster universe Gundam. A happy accident from adding the piping detail was the extra support they provided when posing the kit.
3D Printing
3D printing found its way into this kit to save time scratch building the heel extensions, weapons and mounts. While I saved time on scratch building I did have to sand layer lines off of the prints. It was still a net win because of the part designs and small layer heights.
The heel extension was a simple part that could’ve been cut from plastic card, but 3D printing allow me to create multiple designs at once and choose the best one.
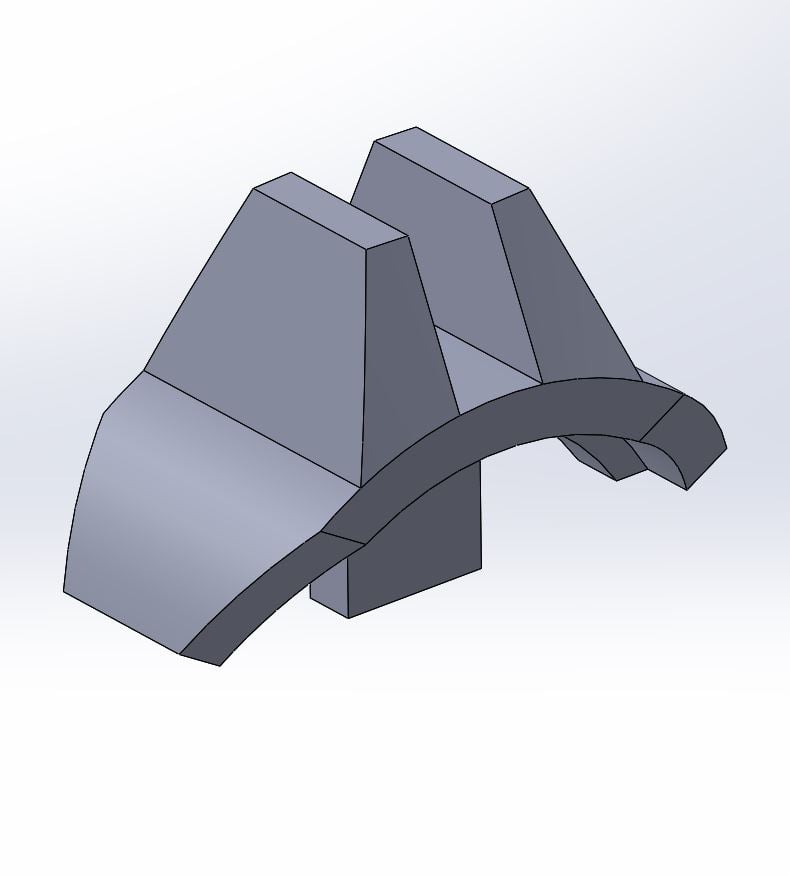
Scratch building a weapon mount that fit the curve of the forearm would’ve required round plastic tube or heating and bending plastic card. But given the simple connection tab, creating the model to print meant measuring a diameter on the forearm such that the mount fit snug.
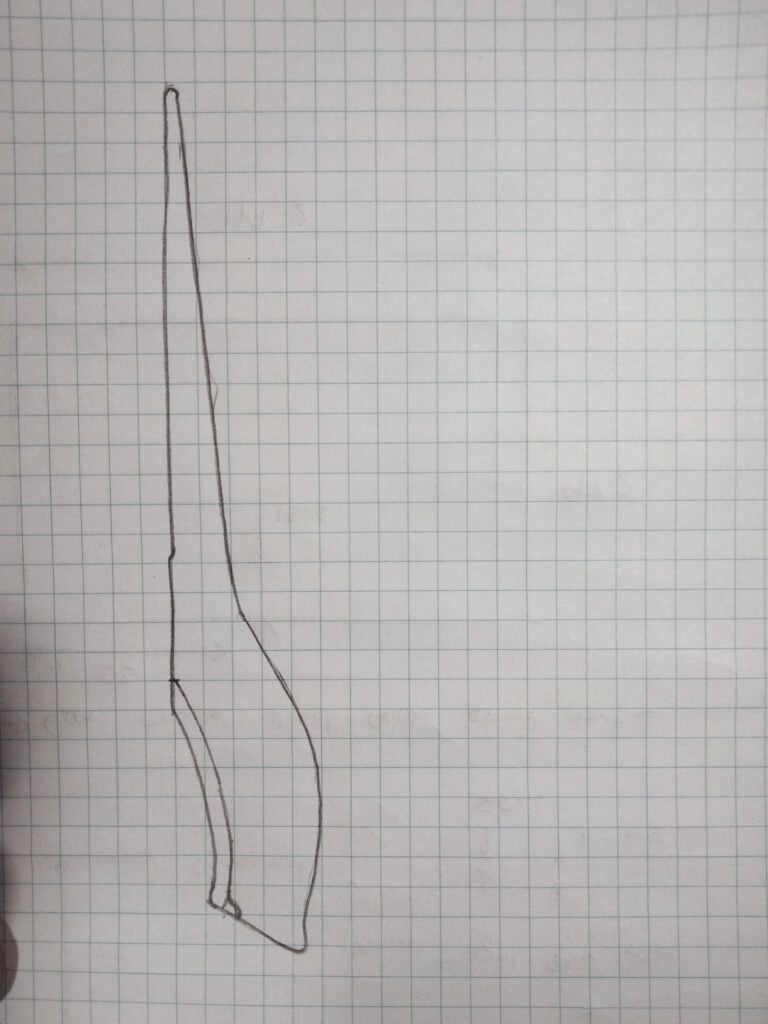

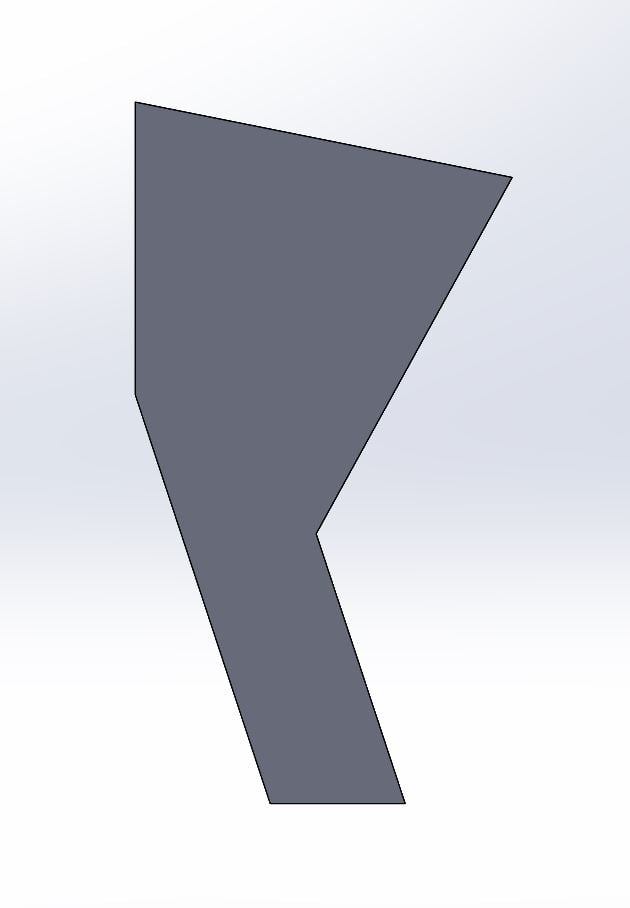
Modelling the weapon blades needed a sketch to model off because of the curved tab for attaching the blade. A couple prototypes were printed first to get this attachment tab right, but this gave me parts for painting test pieces.
Painting & Detailing
The colour scheme was chosen referencing the Graze Mobile Suit, changing the inner frame colour and adding a shade of green.


For the inner frame and piping details I chose a very dark grey with sponged on gunmetal aiming for a worn metallic look.
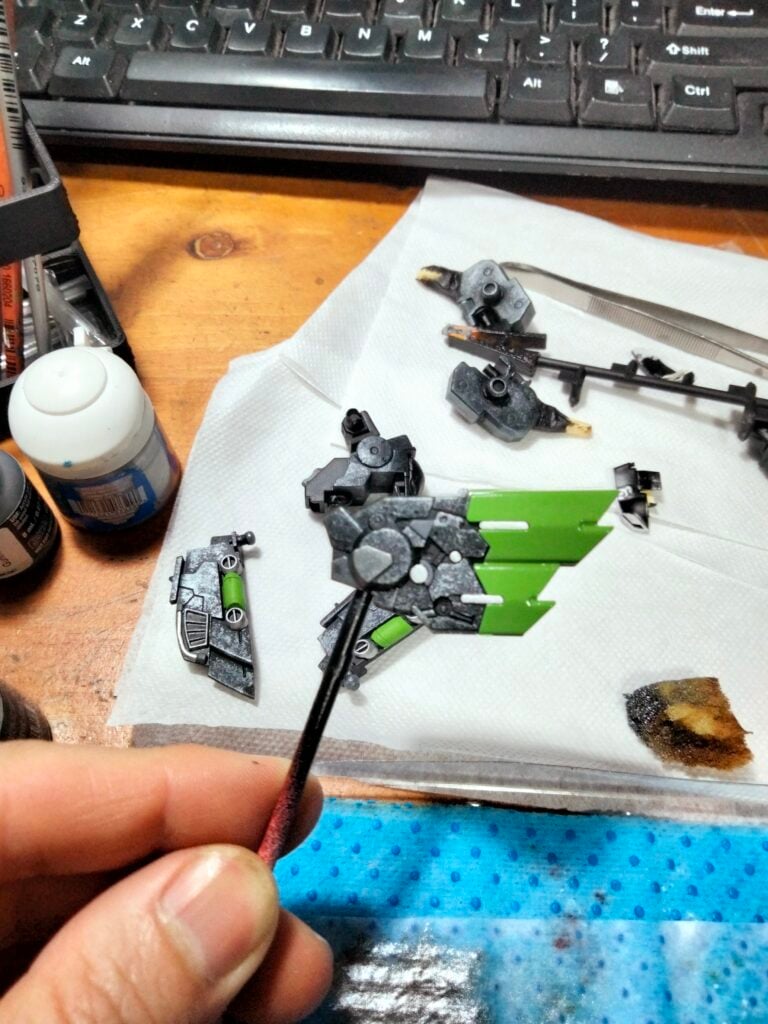
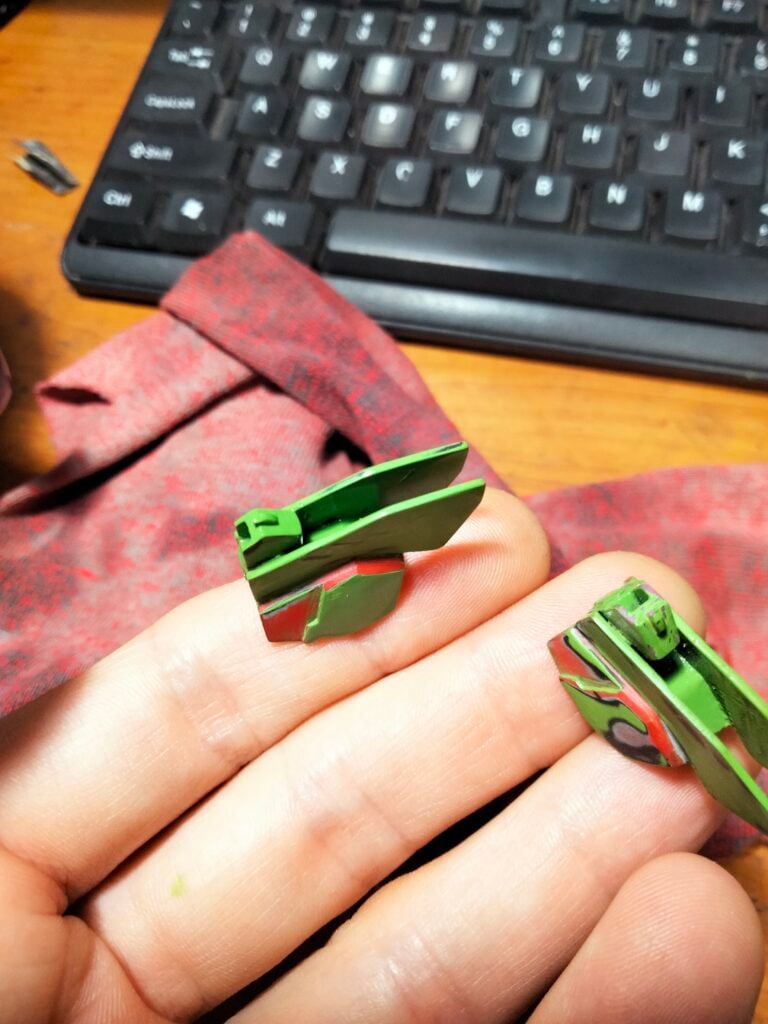
The bright green that was rattled canned on caused headaches when painting the feet. Firstly from applying a coat too thick, and then by being reactivated from the top coat. Nothing to do but sand and redo in this case…..
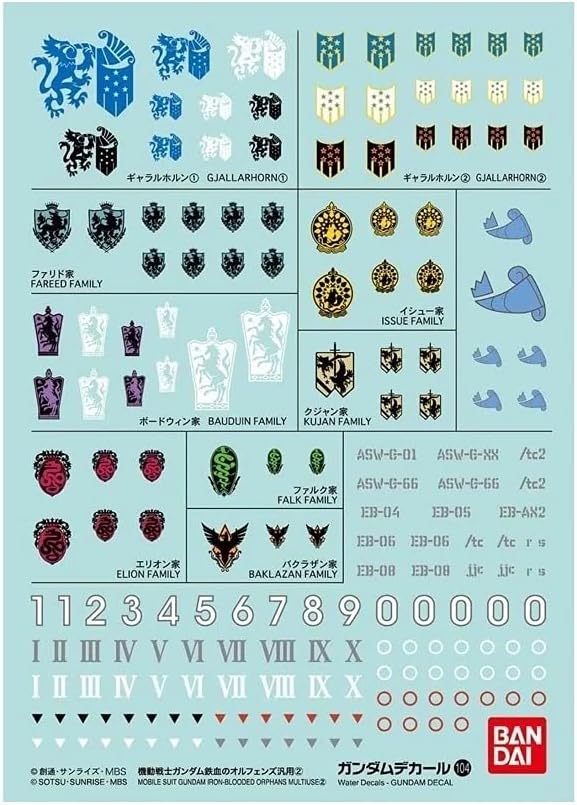
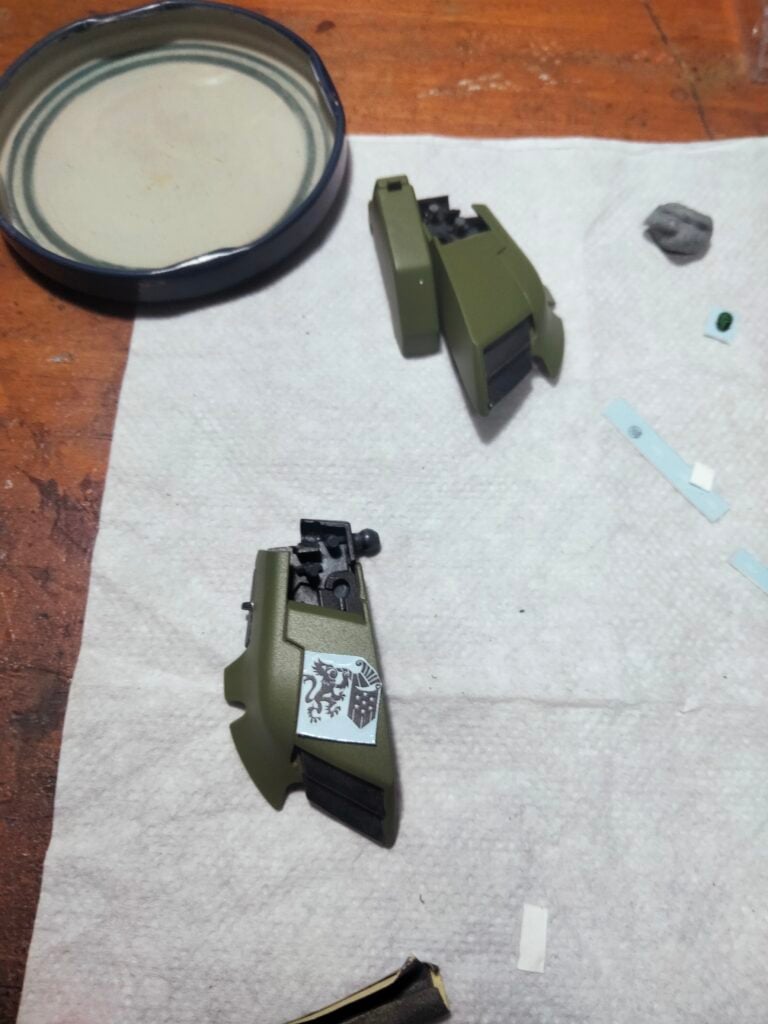
Decals, panel lining and chipping were applied to detail the kit. Bandai decal set 104 included markings from MSG IBO and I picked ones that matched the paint scheme.
Panel lining was completed in the traditional manor, lining up all the parts and work through them beginning to end, allowing the first parts to dry before removing excess liner.

Chipping was applied using Citadel acrylics and a toothpick to give a more subtly damaged finished. No in-action shots of this, but the final photos are coming up!
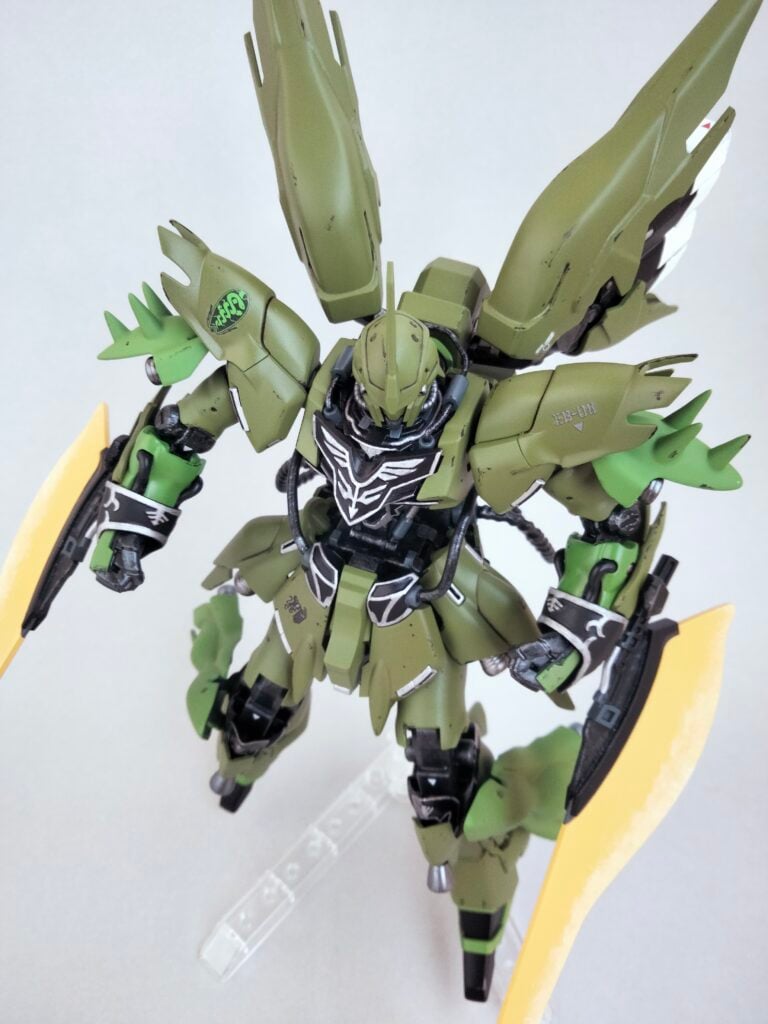
HG Sinanju – Final Photos
WELL!
I didn’t win, but the kit was completed and submitted in time.
Winners are announced in the video below and all entries are shown afterwards.
Comparing my entry to the second place winner, I found some areas for improvement. Given the theme for the contest, a base that set the scene in the Post Disaster universe would have complimented my entry.
As for my customizations, I did choose existing features on Gundams from IBO. So I created a Post Disaster appearance in a very oblivious way, and choosing more subtle customizations would’ve been more creative.
Now on to the painting and detailing. My choice of decals that matched the colour scheme didn’t create much contrast. While my subtle chipping would’ve benefitted from being applied in layers using a couple different shades.
I’ll definitely be trying these out on future builds, but for now enjoy the final photos of my entry.
More images from throughout the build are in the gallery.
Happy Gunpla viewing (and building)